Creating a new Knowledge Base article
[Desktop]
Adding articles to your knowledge base makes it easy for customers and agents to find answers fast. You can even feature an article in your widget so visitors never have to leave your page.
NOTE: The instructions below can only be completed from a browser or the tawk.to desktop apps. They cannot be completed in the tawk.to mobile app.
Here’s how to start adding articles to your knowledge base:
Log in to your tawk.to account.
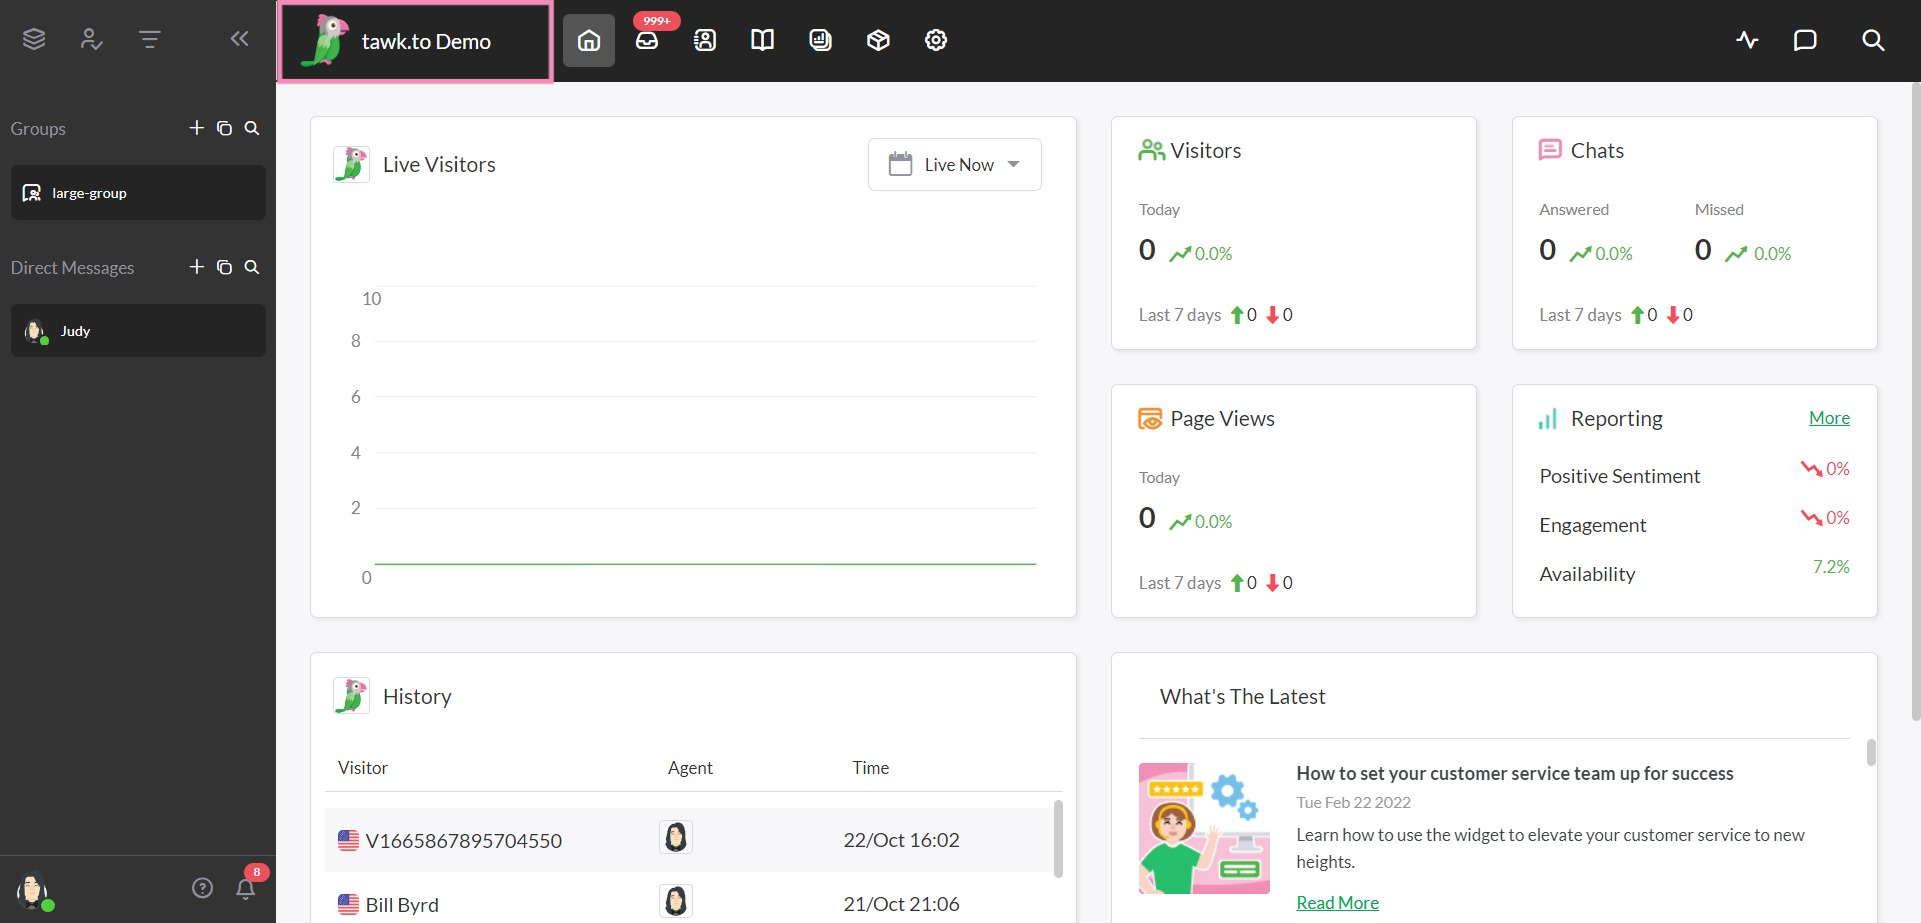
If you have multiple properties, check to make sure you're viewing the correct one. Hover over the current property name in the upper-left menu to select a new property from the list.
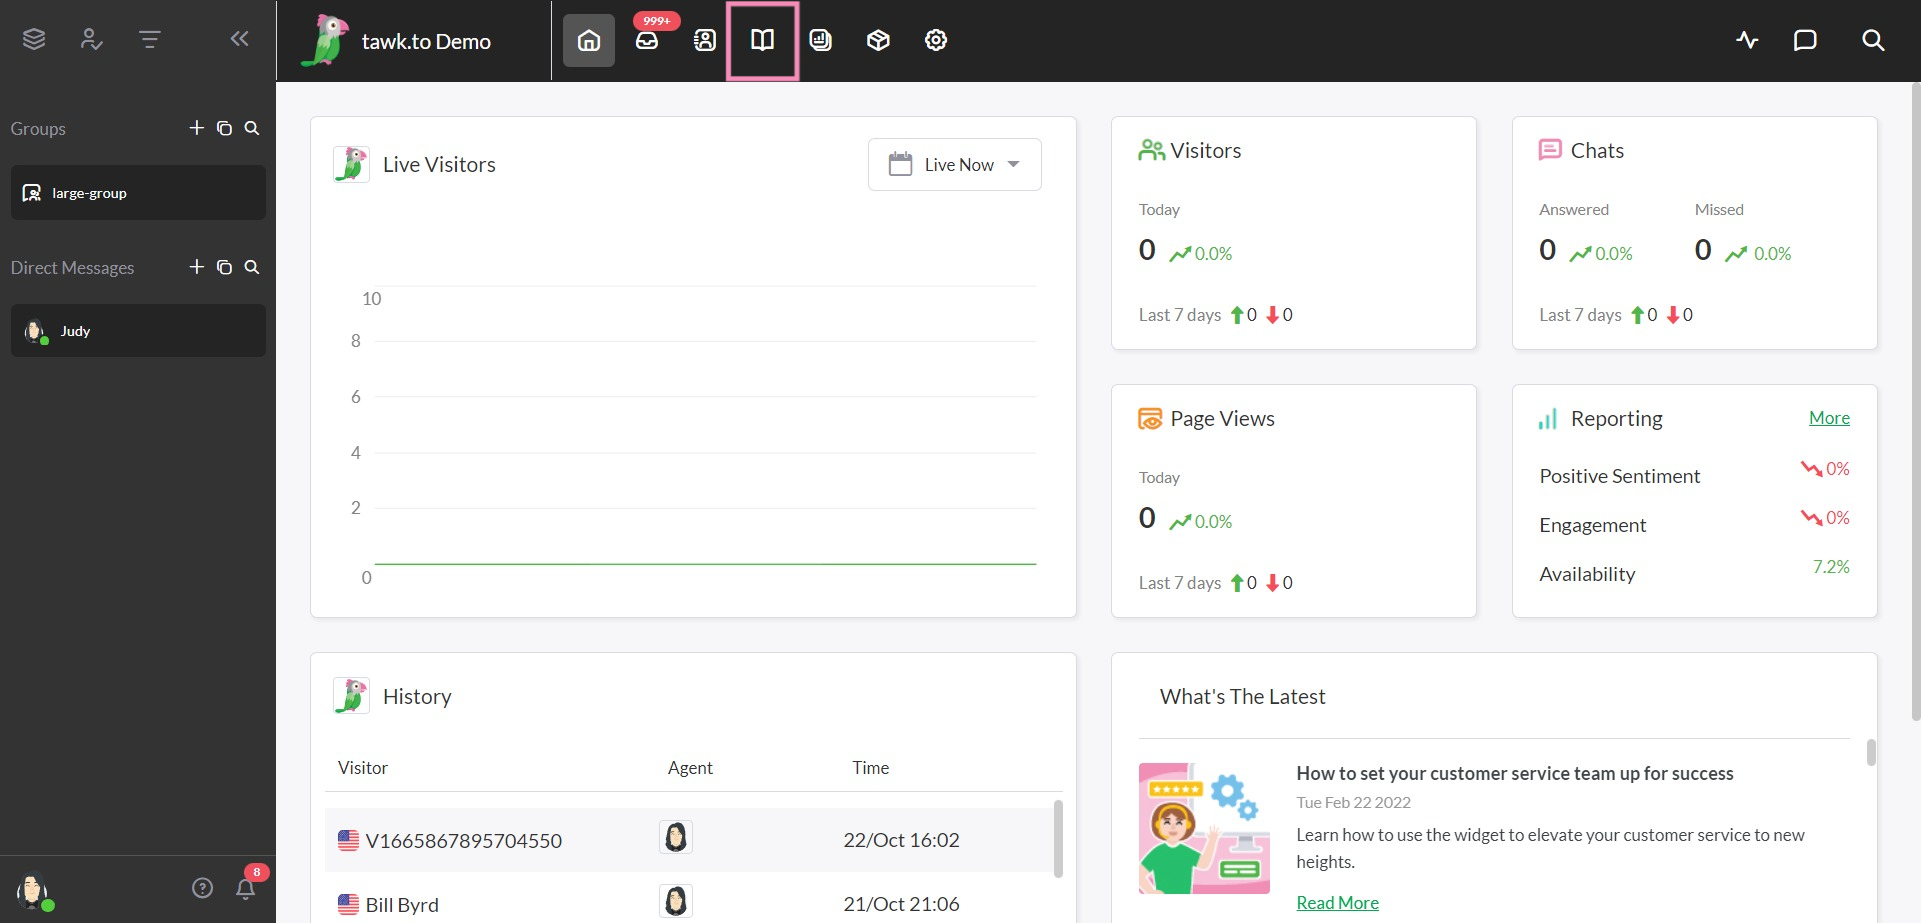
Then, select the Knowledge Base (book) icon in the upper tab menu.
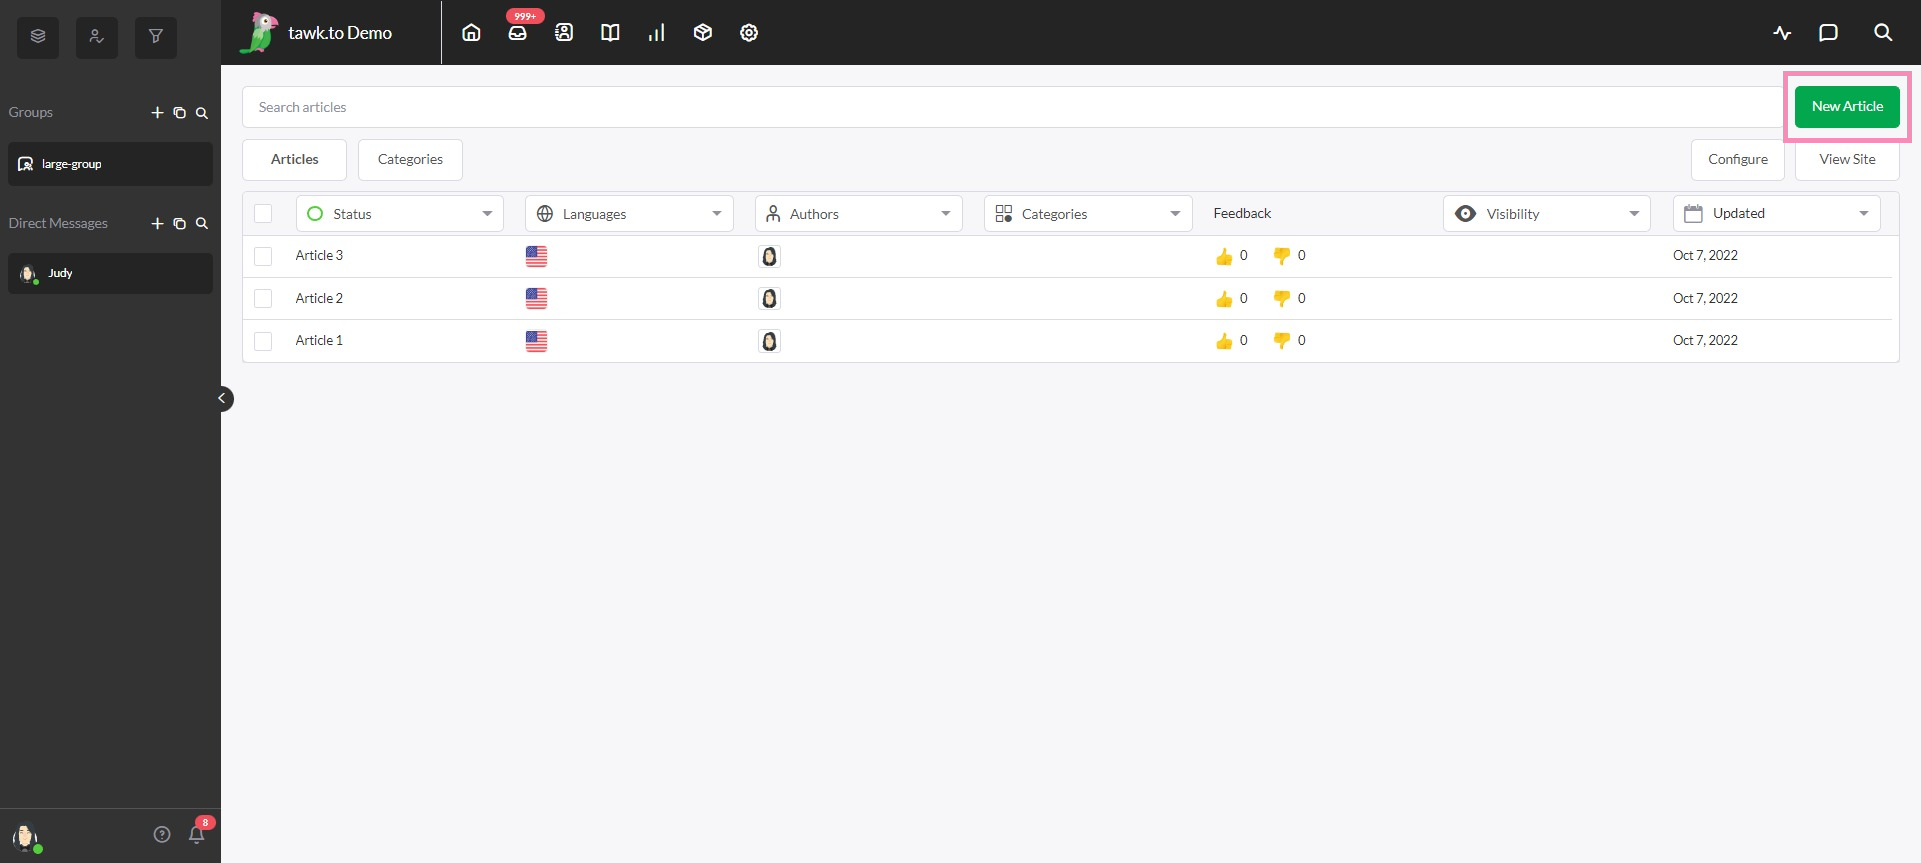
From here, you'll be able to see every previously created knowledge base entry.
It may look a little empty for now, but you'll find yourself filling it up in no time. Click the green New Article button in the upper-right corner to get started. For now, we'll focus on the document settings on the left.
Slug
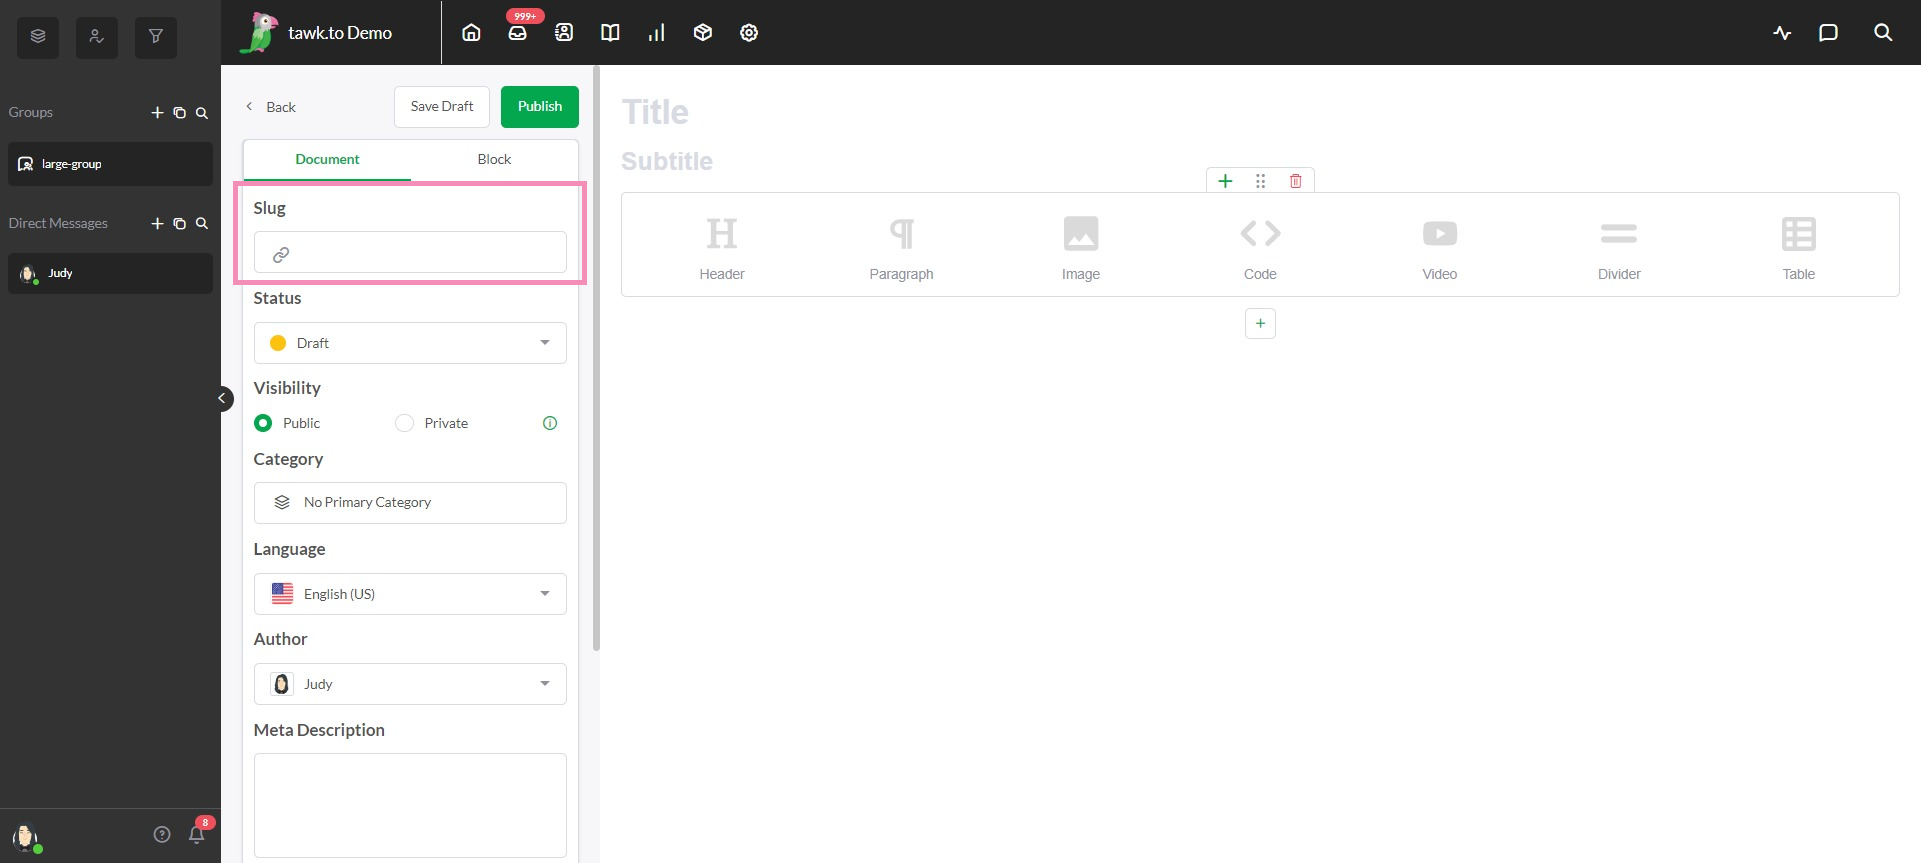
The Slug controls the final portion of the URL. Unless you have a specific reason to change this, it's best to leave it blank. Once you save a draft or publish the article, the slug will automatically be generated based on the title of the article. This keeps things simple and helps with search engine optimization.
Status
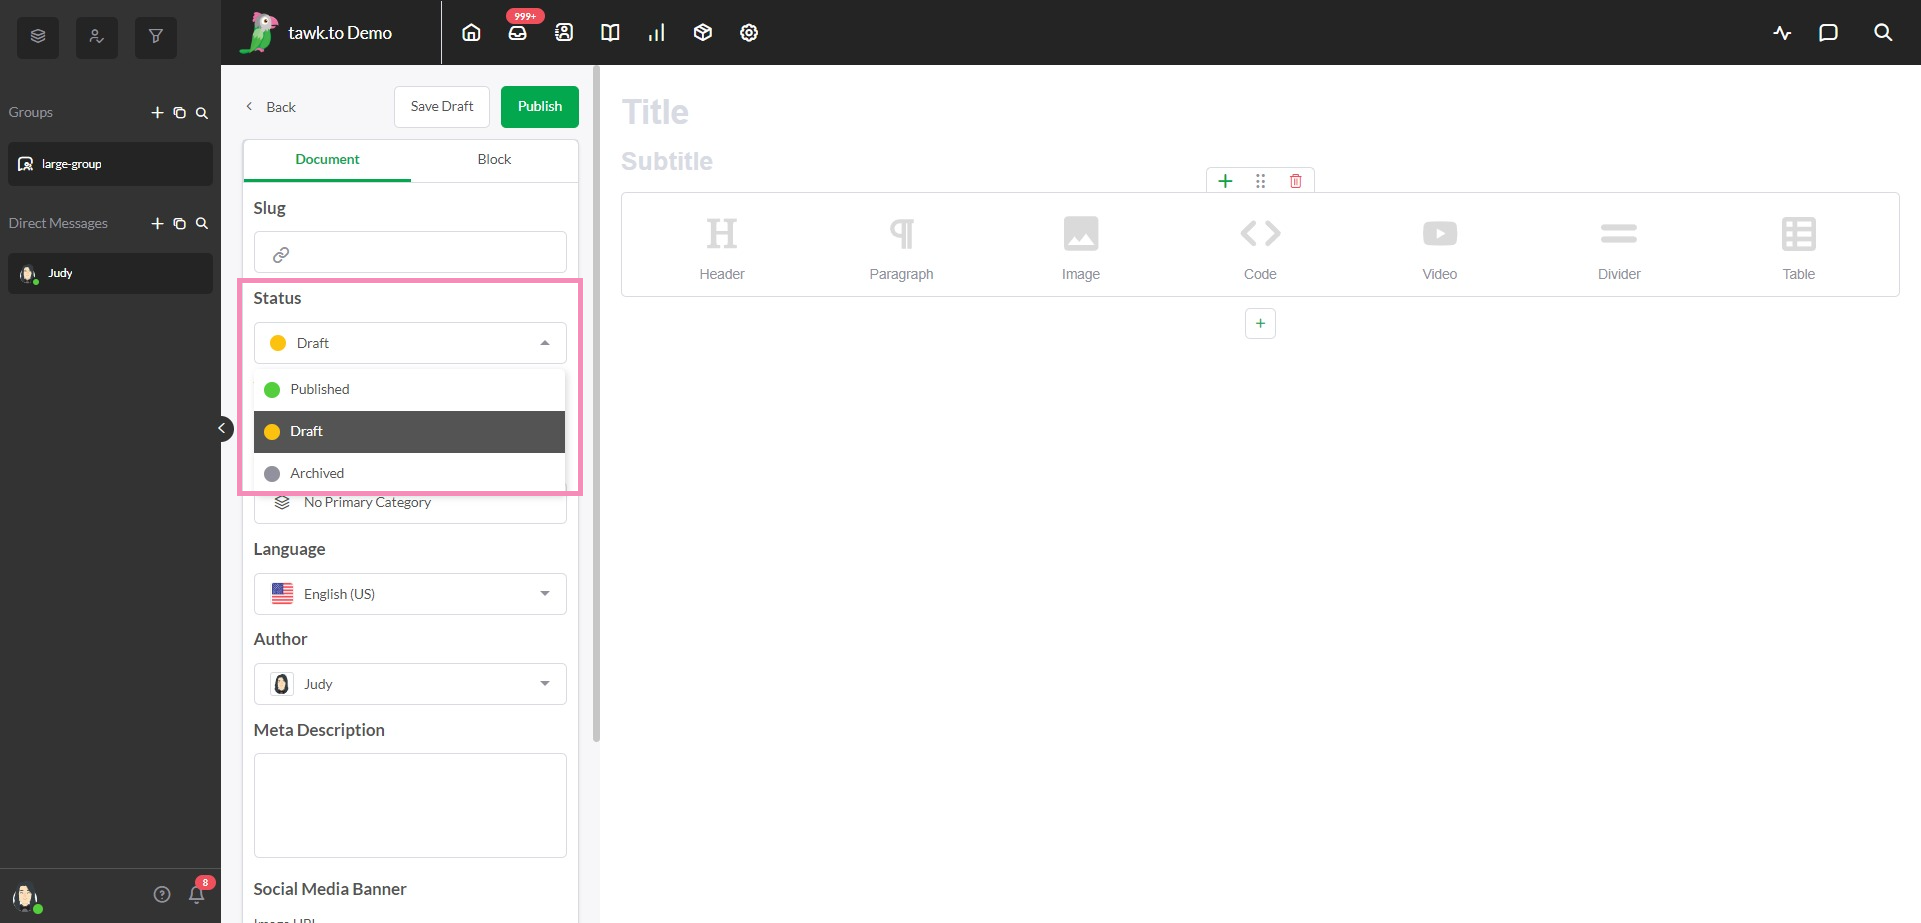
Underneath the Slug, you can change the Status of the article. A Draft is only viewable by you or a team member with access to the dashboard of the Property for which you're creating the draft. If you want to have a quick look to see how the article will appear once it's published without your customers being able to see it, look for the Preview function at the top of the menu next to the Save Draft button.
Once you're happy with how it looks, change the status to Published to make it available for any visitors on your site. You can still make changes to the article once it's published by updating it and saving the changes within the dashboard.
If an article is no longer relevant and you want to stop your customers from seeing it after it's been published, you can either change the status to Archived or hit the permanent Delete Article button at the bottom of the document summary.
Visibility
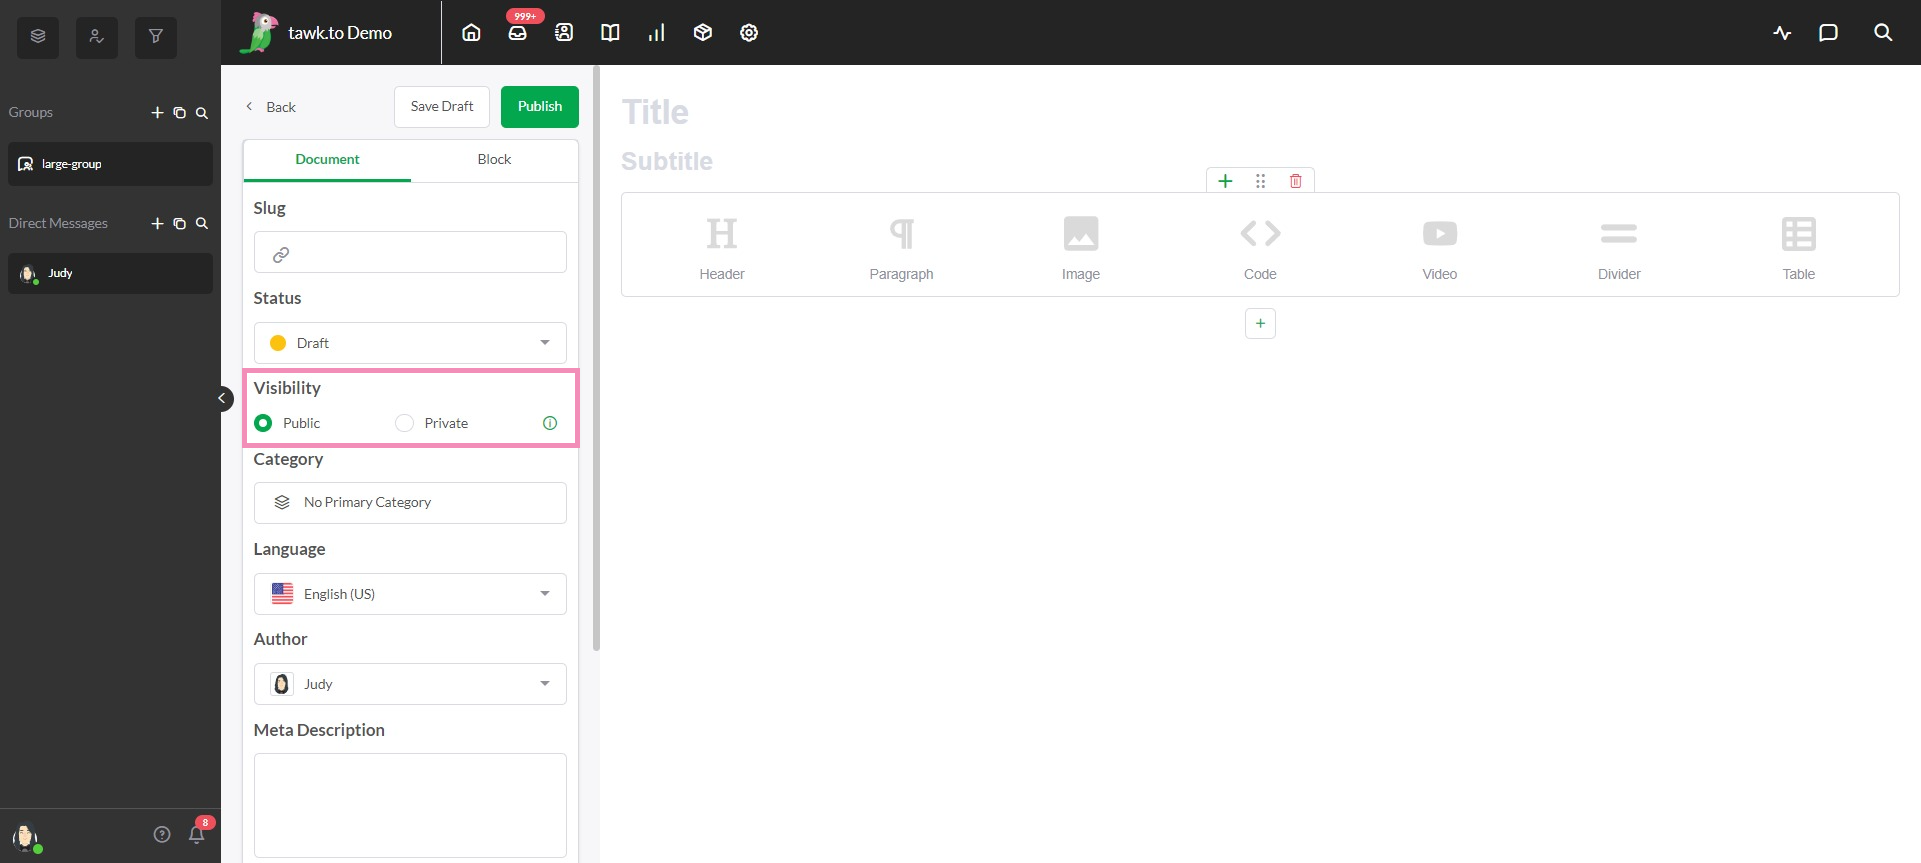
Public articles will be displayed in your knowledge base. These are available to anyone with access to the URL. This is the best space for tutorials, frequently asked questions, advanced tips, guides, or any knowledge base article created for helping your customers. Once an article is published, it will be indexed by Google.
Private articles are only visible by your team within tawk.to apps when signed in to the property associated with the article. This setting can be useful for keeping track of policies and procedures specifically for your team and is a great way for team members to access information.
Category
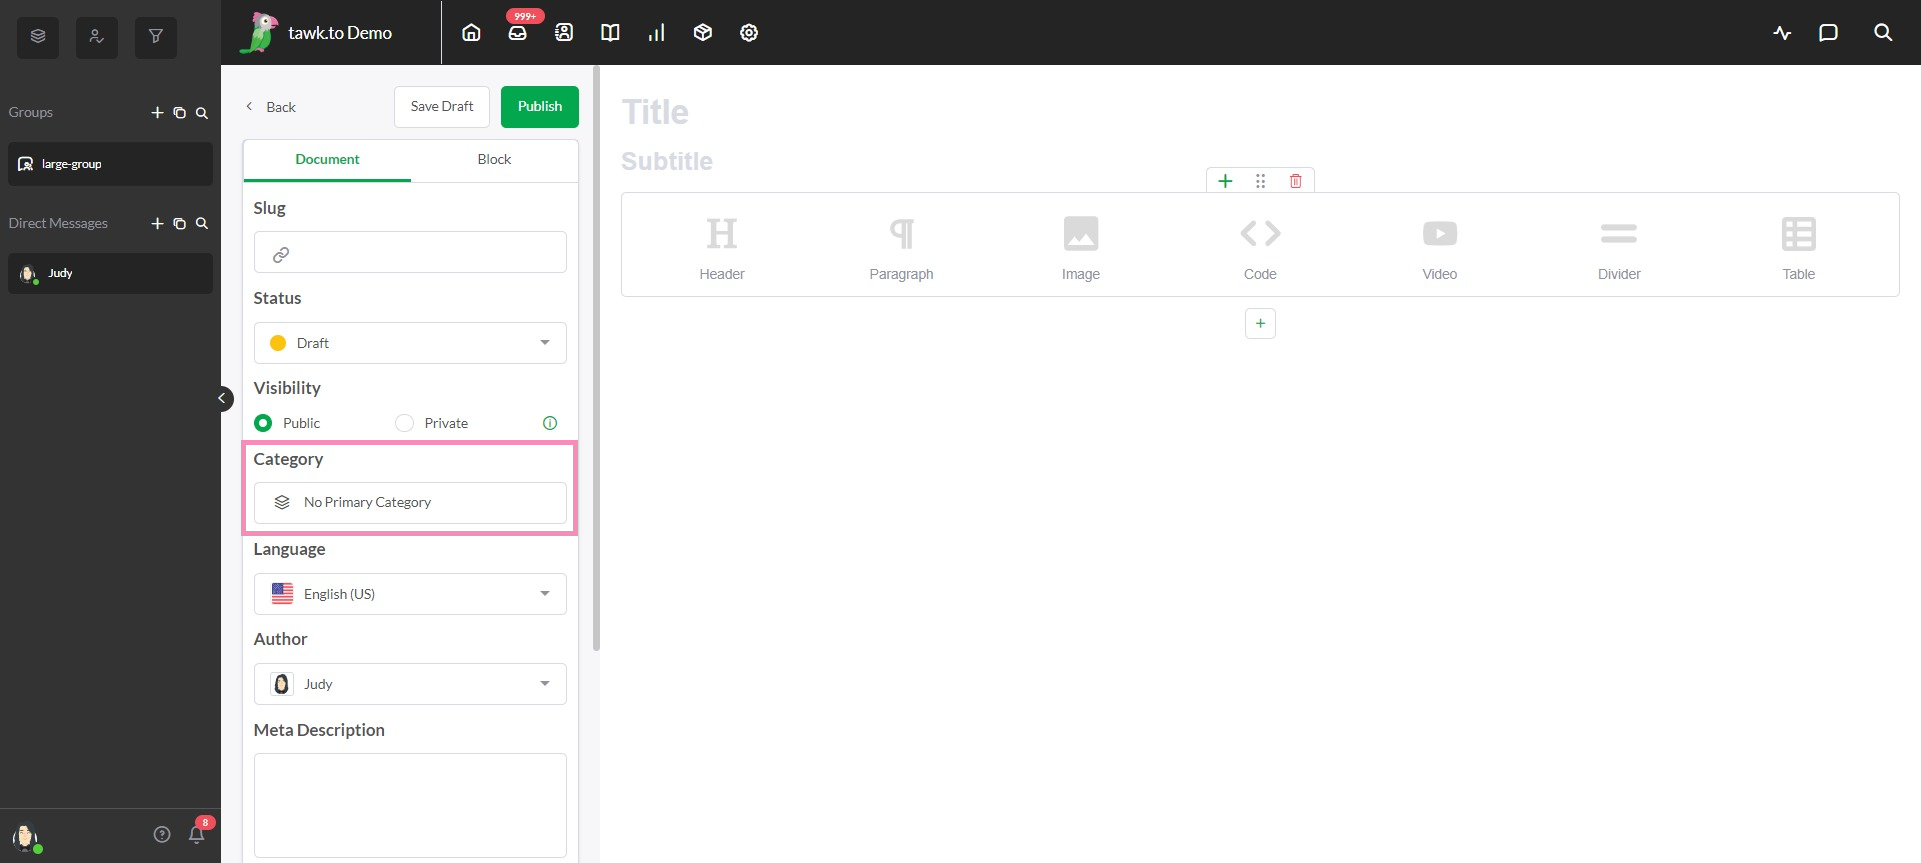
Next, you'll want to select a Category. Setting up your categories right makes it easier for your visitors to find the information they're looking for. You can select multiple categories per article. The one with the green flag will be the Primary Category. When you're done assigning categories, hit the green plus sign at the top to save your selections.
Language and Author
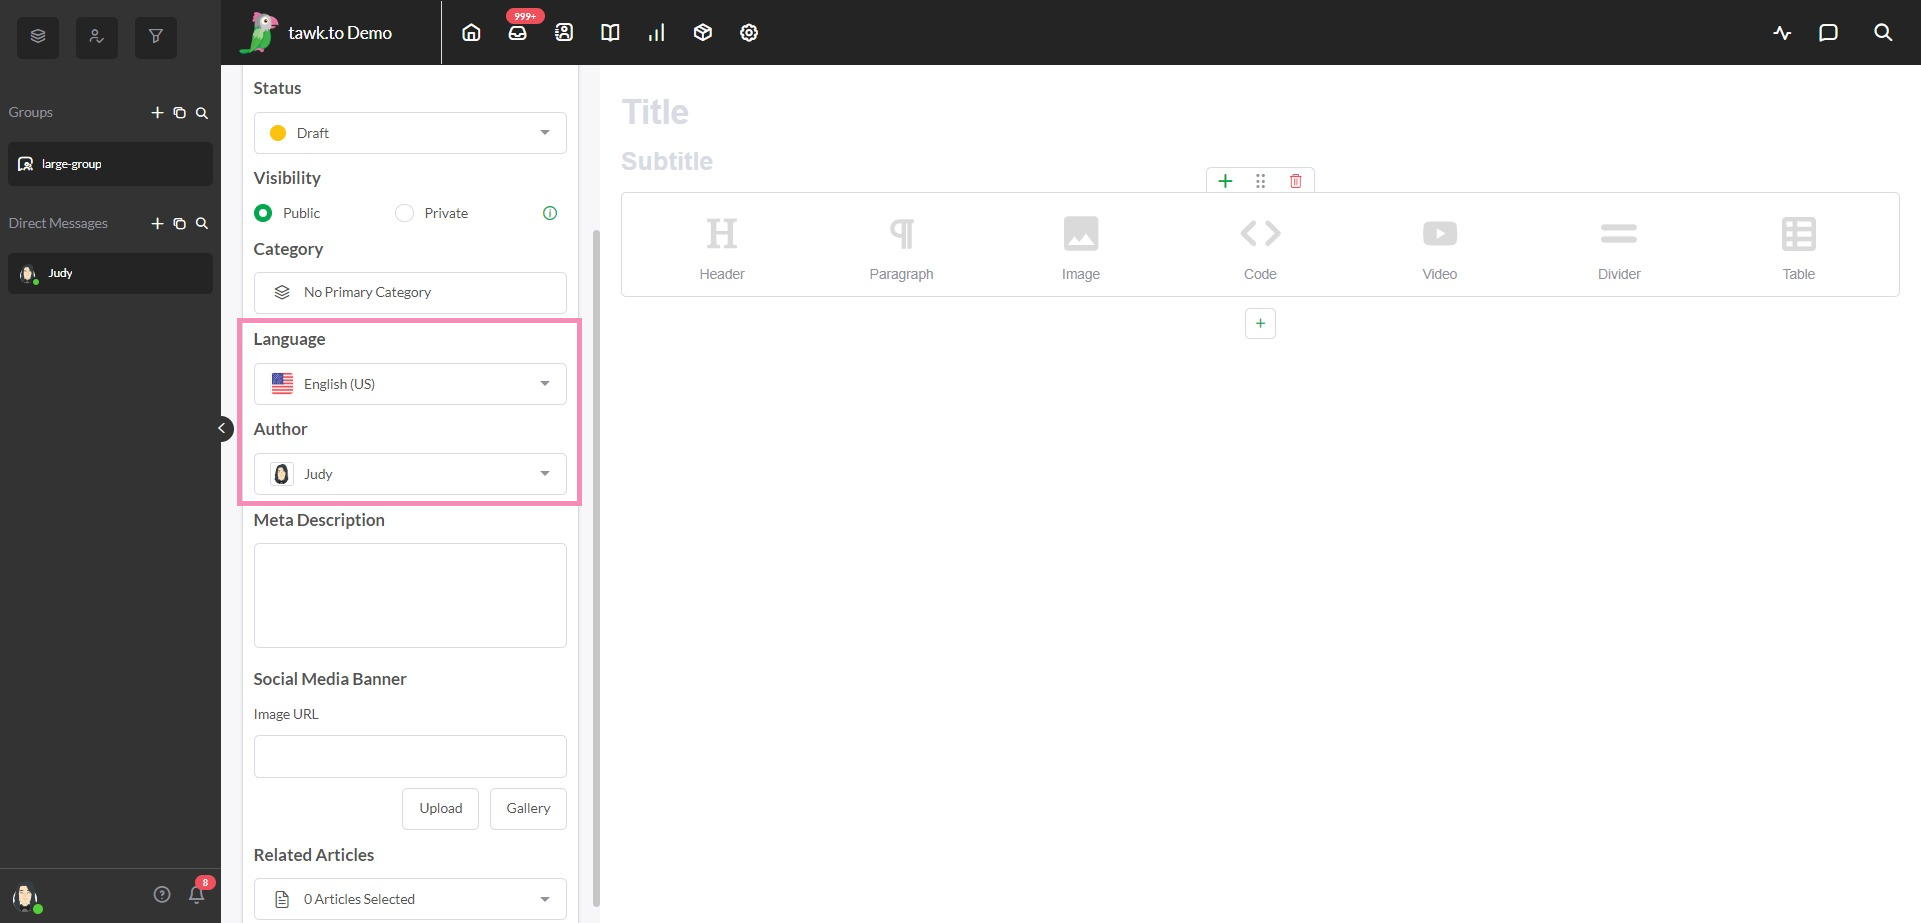
The next drop-down box allows you to choose from one of the supported languages. Right under that, you can select who will appear as the author of the article.
Meta Description
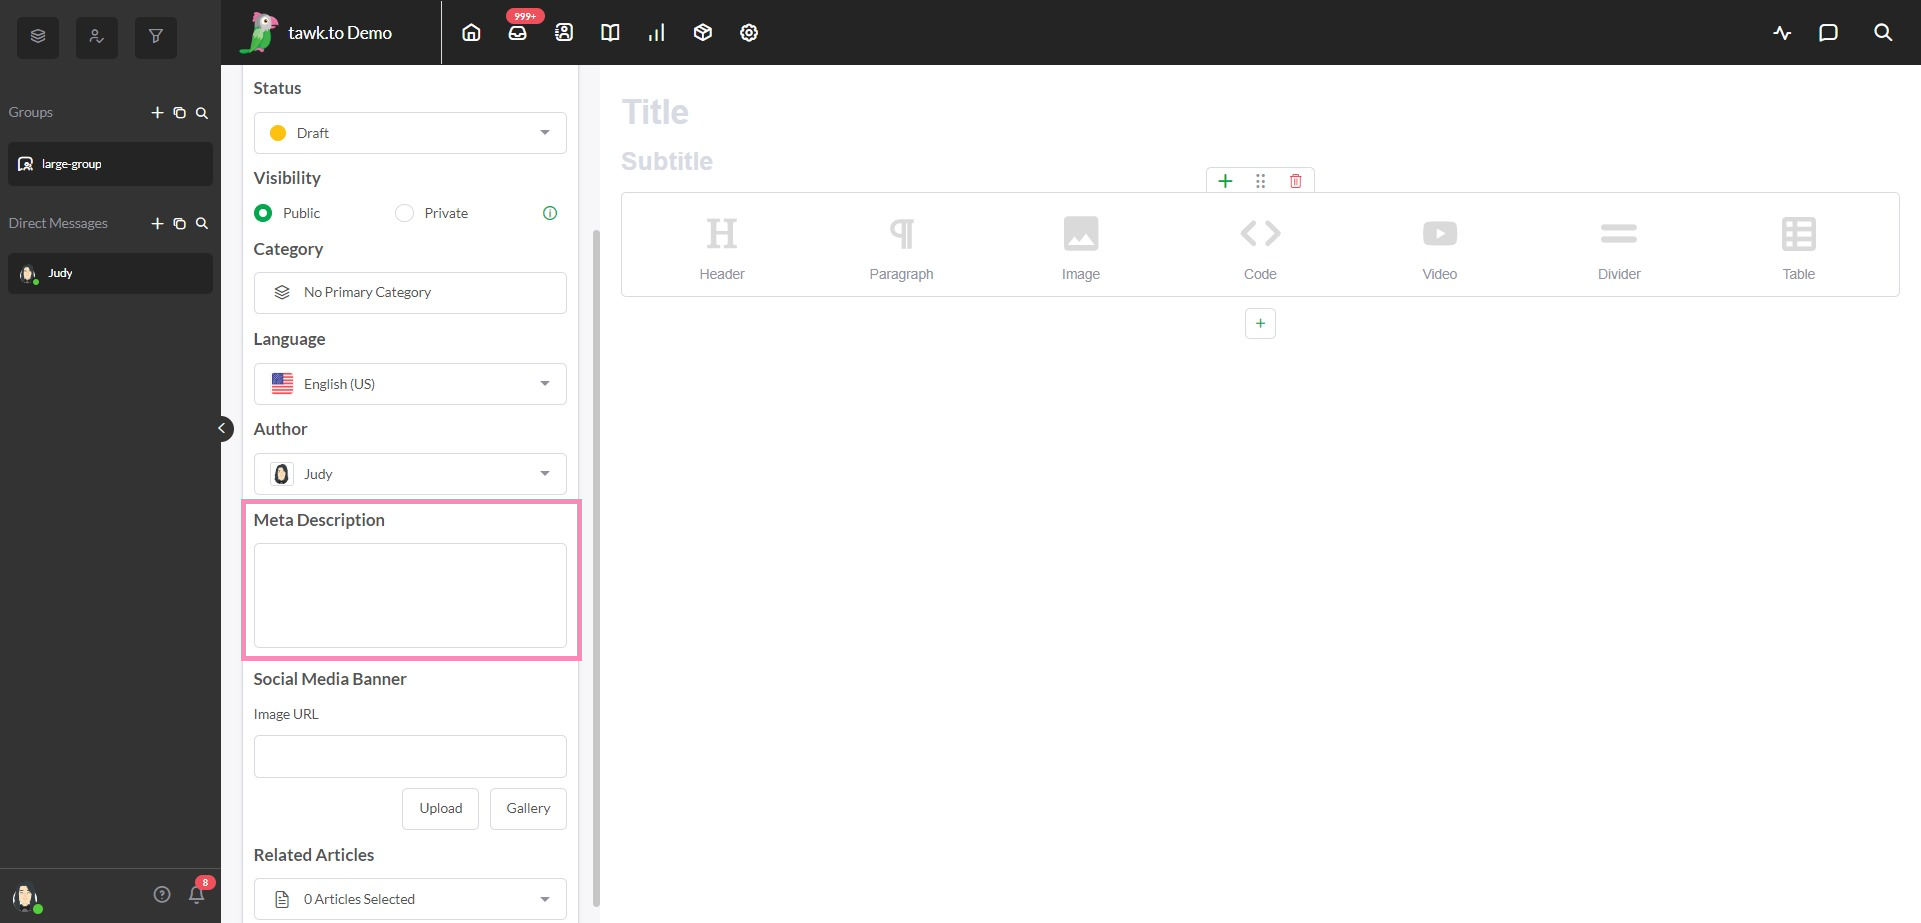
The Meta Description is a 155-160 character meta tag that provides a summary of your article. Search engines often show it in search results to give a preview of the content on a page.
Social Media Banner
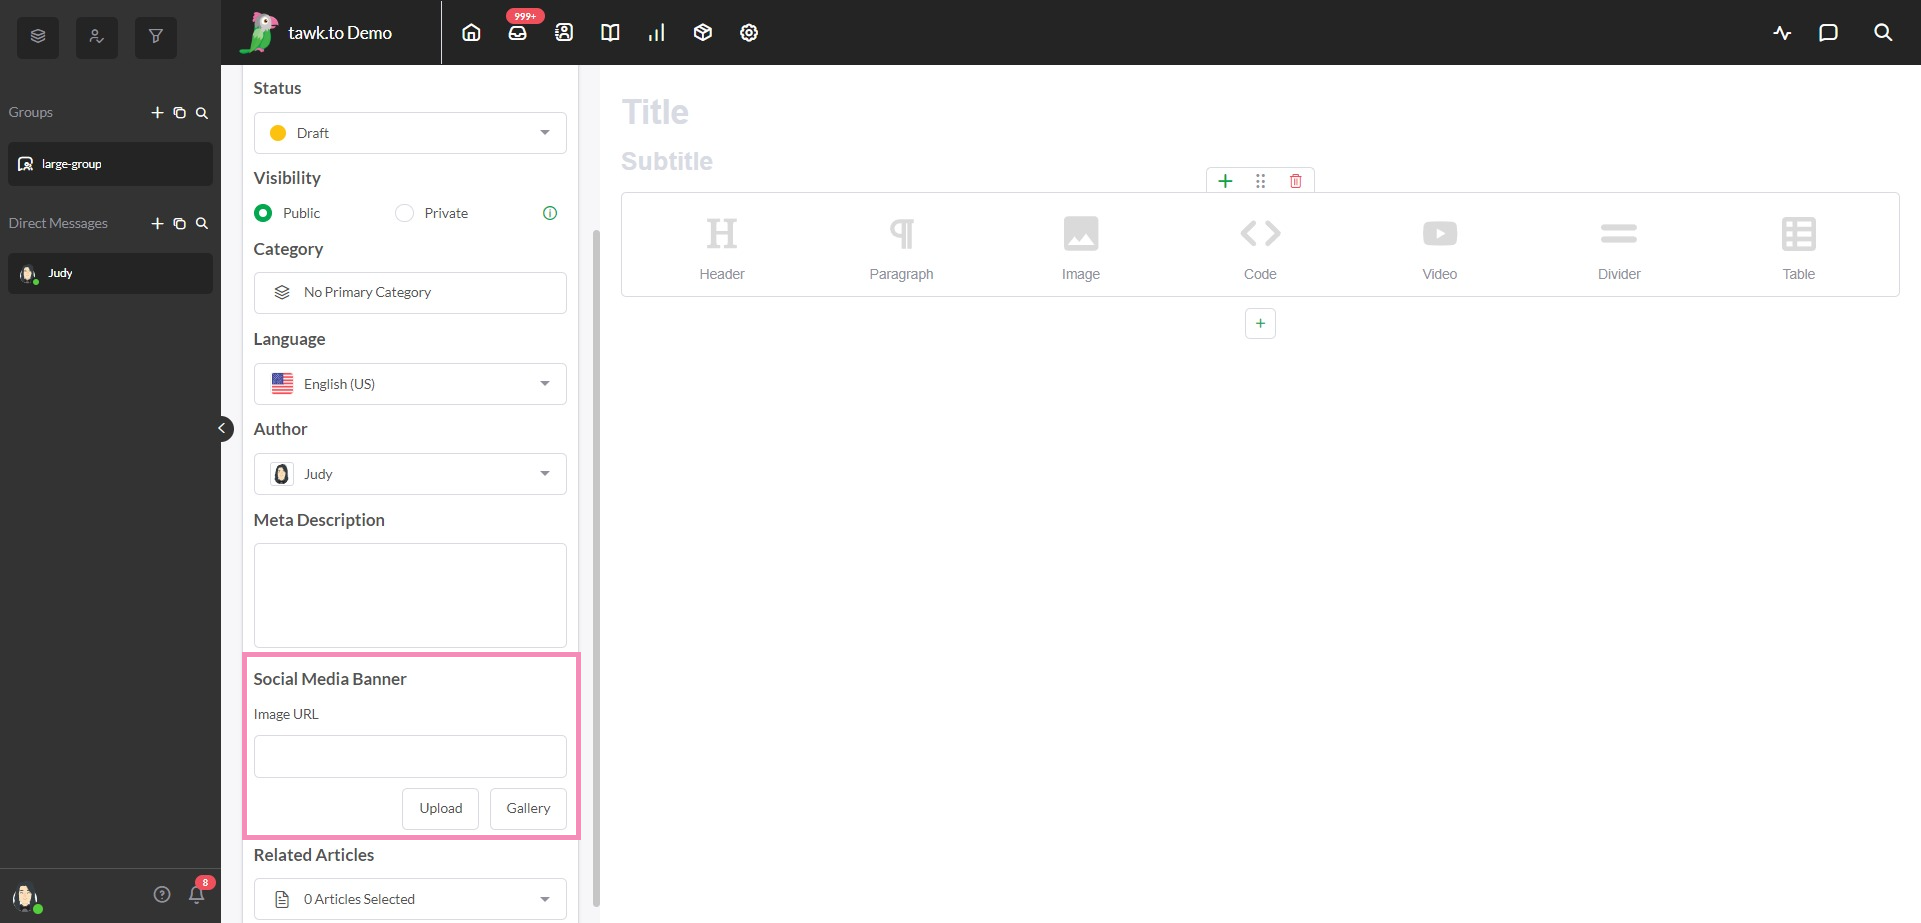
The Social Media Banner is the image people see when the article is shared on Facebook, Twitter, LinkedIn and other social media sites.
Related Articles
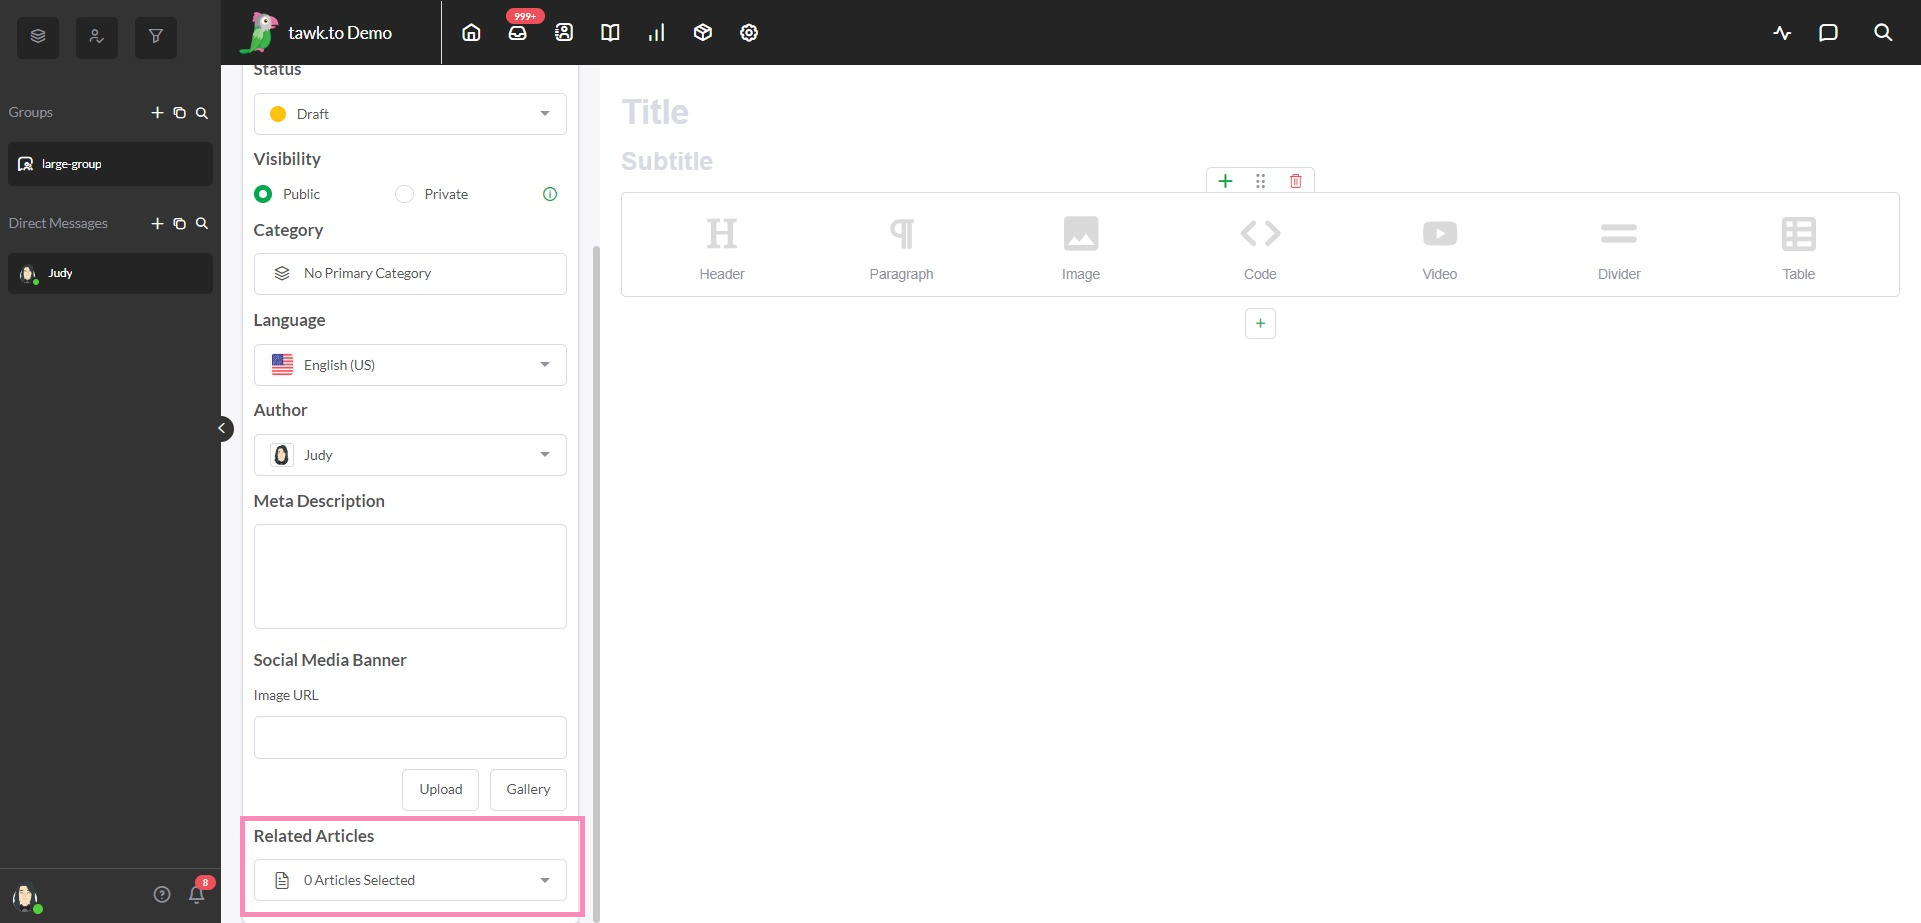
Your final decision in this document section is to choose articles as a follow-up to this one. Any Related Articles you add will appear below the published article as suggestions for further reading.
That's it for the document settings. Now, we'll move over to the right side, where we'll add the actual content of the article and make changes to individual blocks.
Title and Subtitle
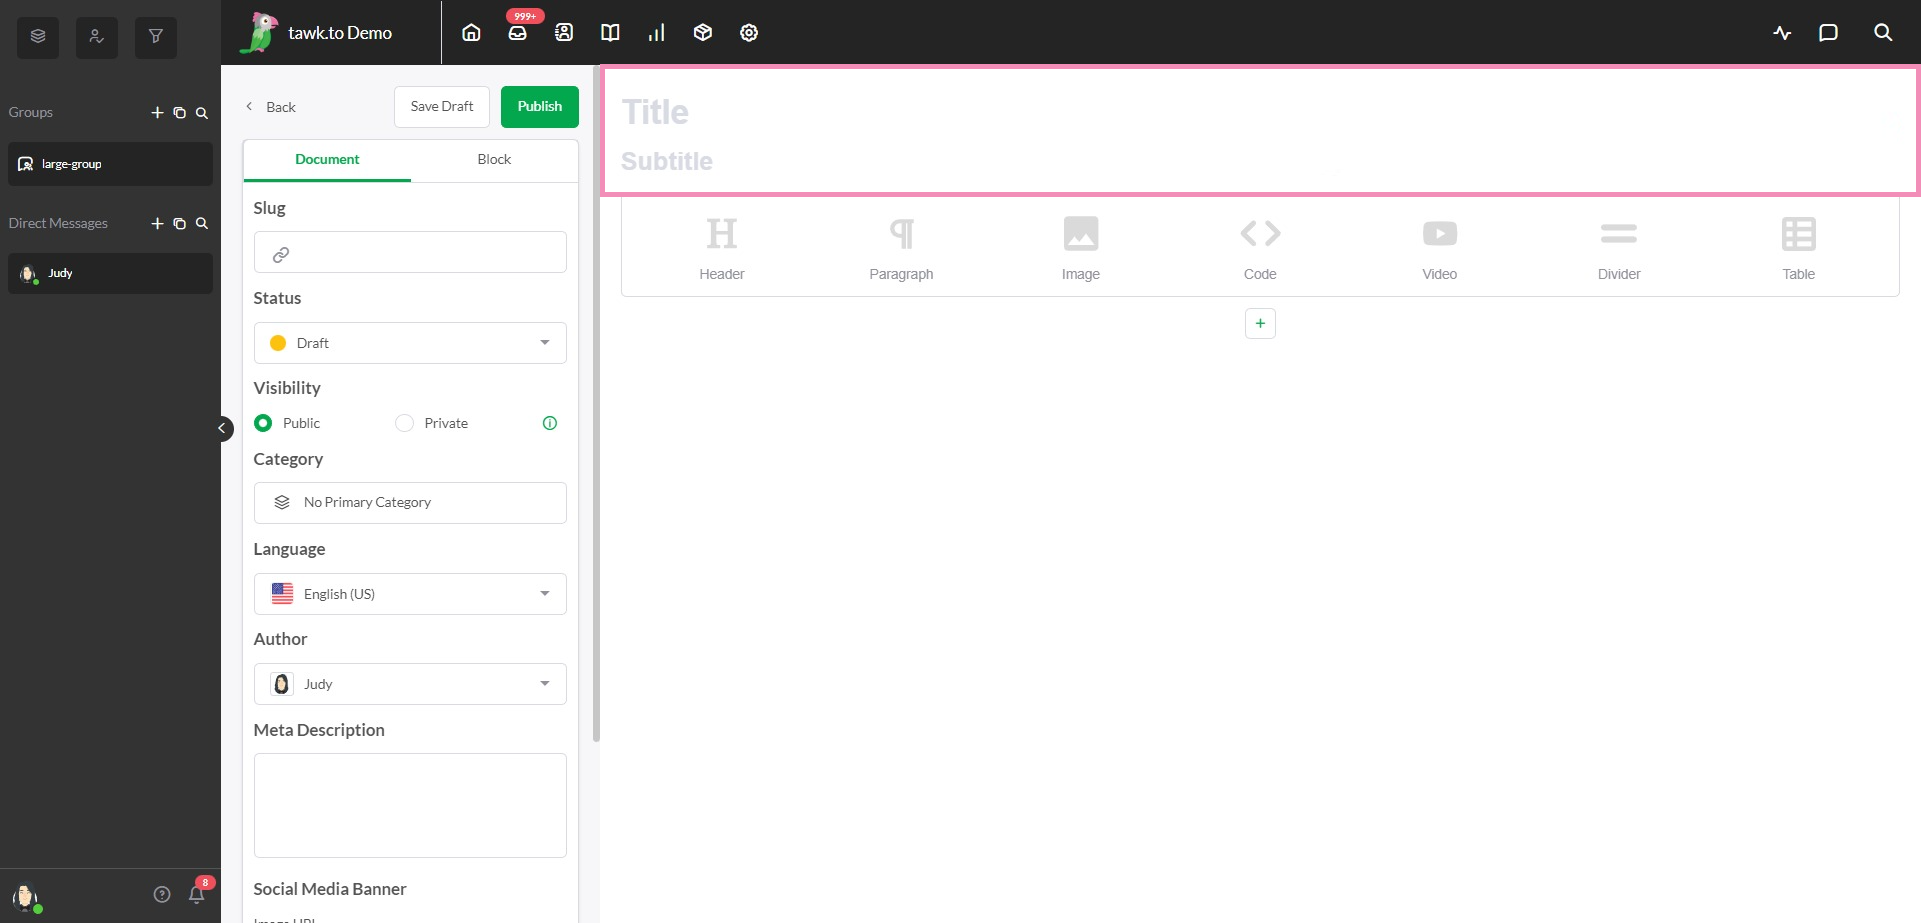
Every article needs a title and you won't be able to save a draft without one. If you've left the Slug blank in the left menu, the title will be used to generate a new one once you've saved the draft or published the article.
Titles are super important around the internet and not just because they let readers know what to expect from your articles. Titles also play a big role in search engine optimization, governing how close to the top of the results pages your site will appear when someone looks for it on Google and other search engines.
Once you've got yourself a snazzy title you're happy with, it's time to decide if you'll be using a subtitle. The subtitle is optional and can be helpful for giving the reader another chance to get a sense of why they should commit to reading the article.
When your Knowledge Base article is published, you'll notice that the title and subtitle appear at the top followed by the author's name and when it was last updated. These items always appear first. Everything else you add to the article from this point on can be moved to appear in any order you like.
Blocks
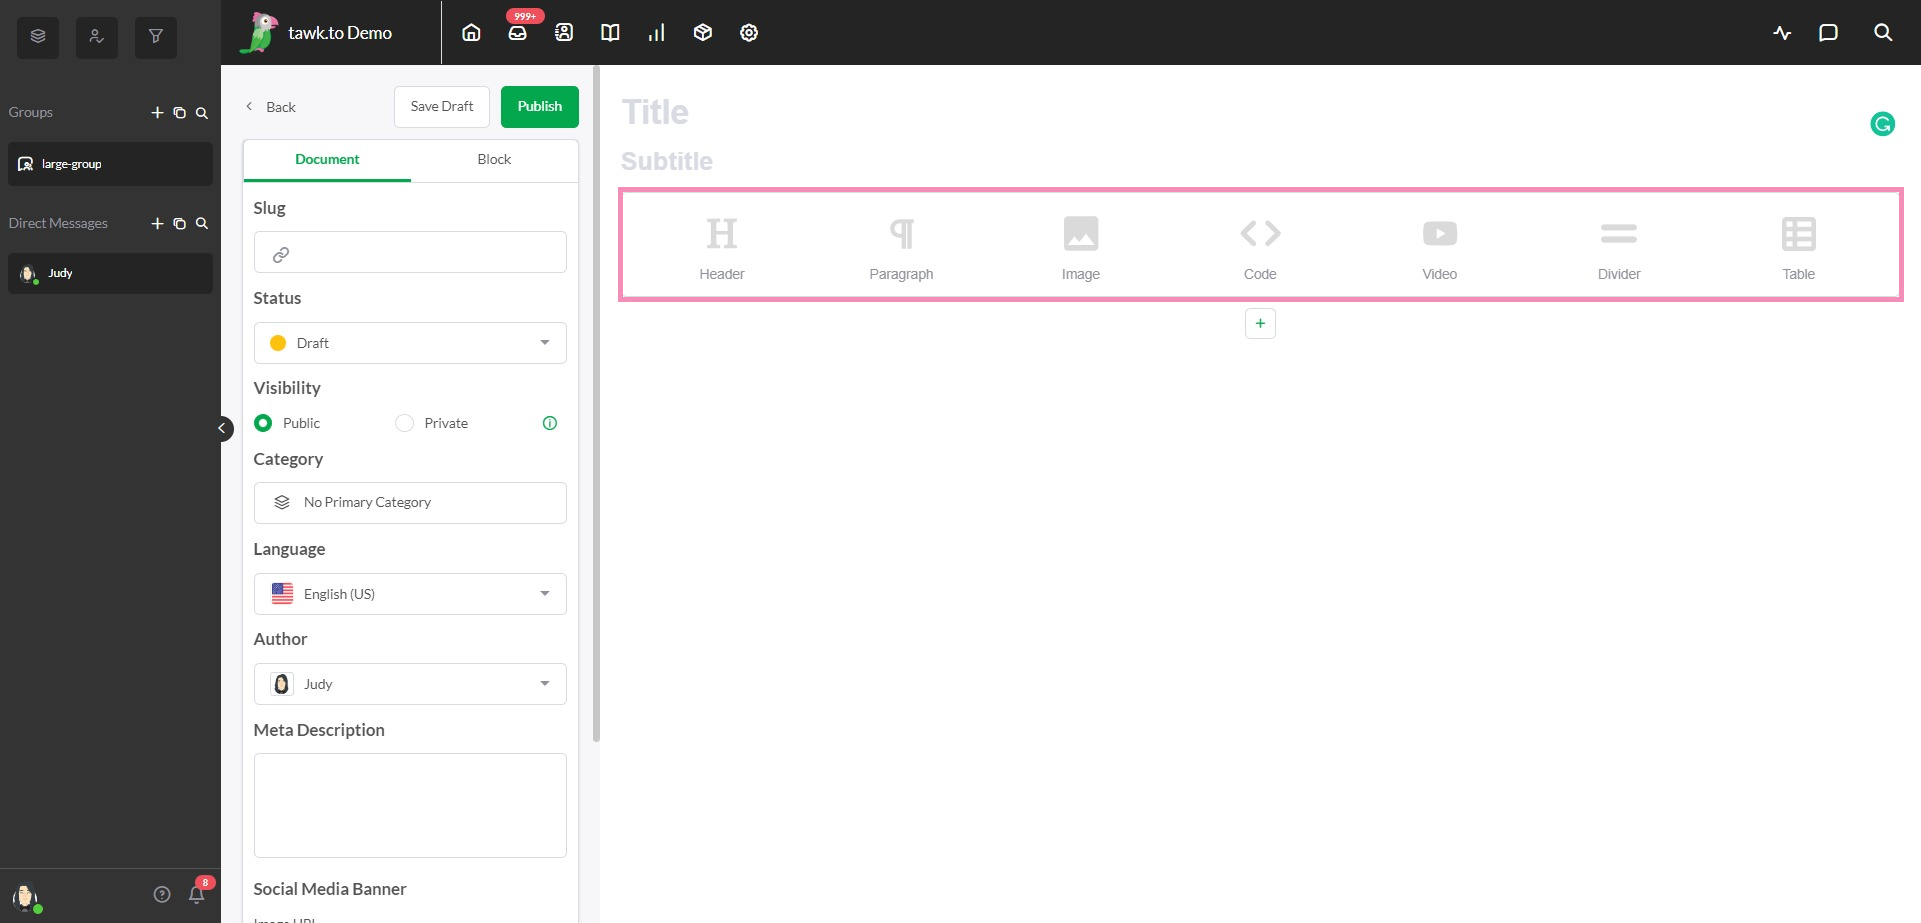
Just under the subtitle, an empty block is ready to be formatted. Before we dive into how to customize your blocks with the seven formatting options, have a quick look at the buttons above and below the current block. Clicking a green plus sign adds a new block either above or below the current block. Each group of six dots allows you to drag and reposition a block. Click the red trash can to permanently delete a block.
Blocks can be added, moved or removed at any time. Think of them as being like paragraphs in a book or separate posts in a social media timeline, except you control the order of their appearance. Each block you create opens up a new settings panel on the left to help you adjust the block to your needs.
Header
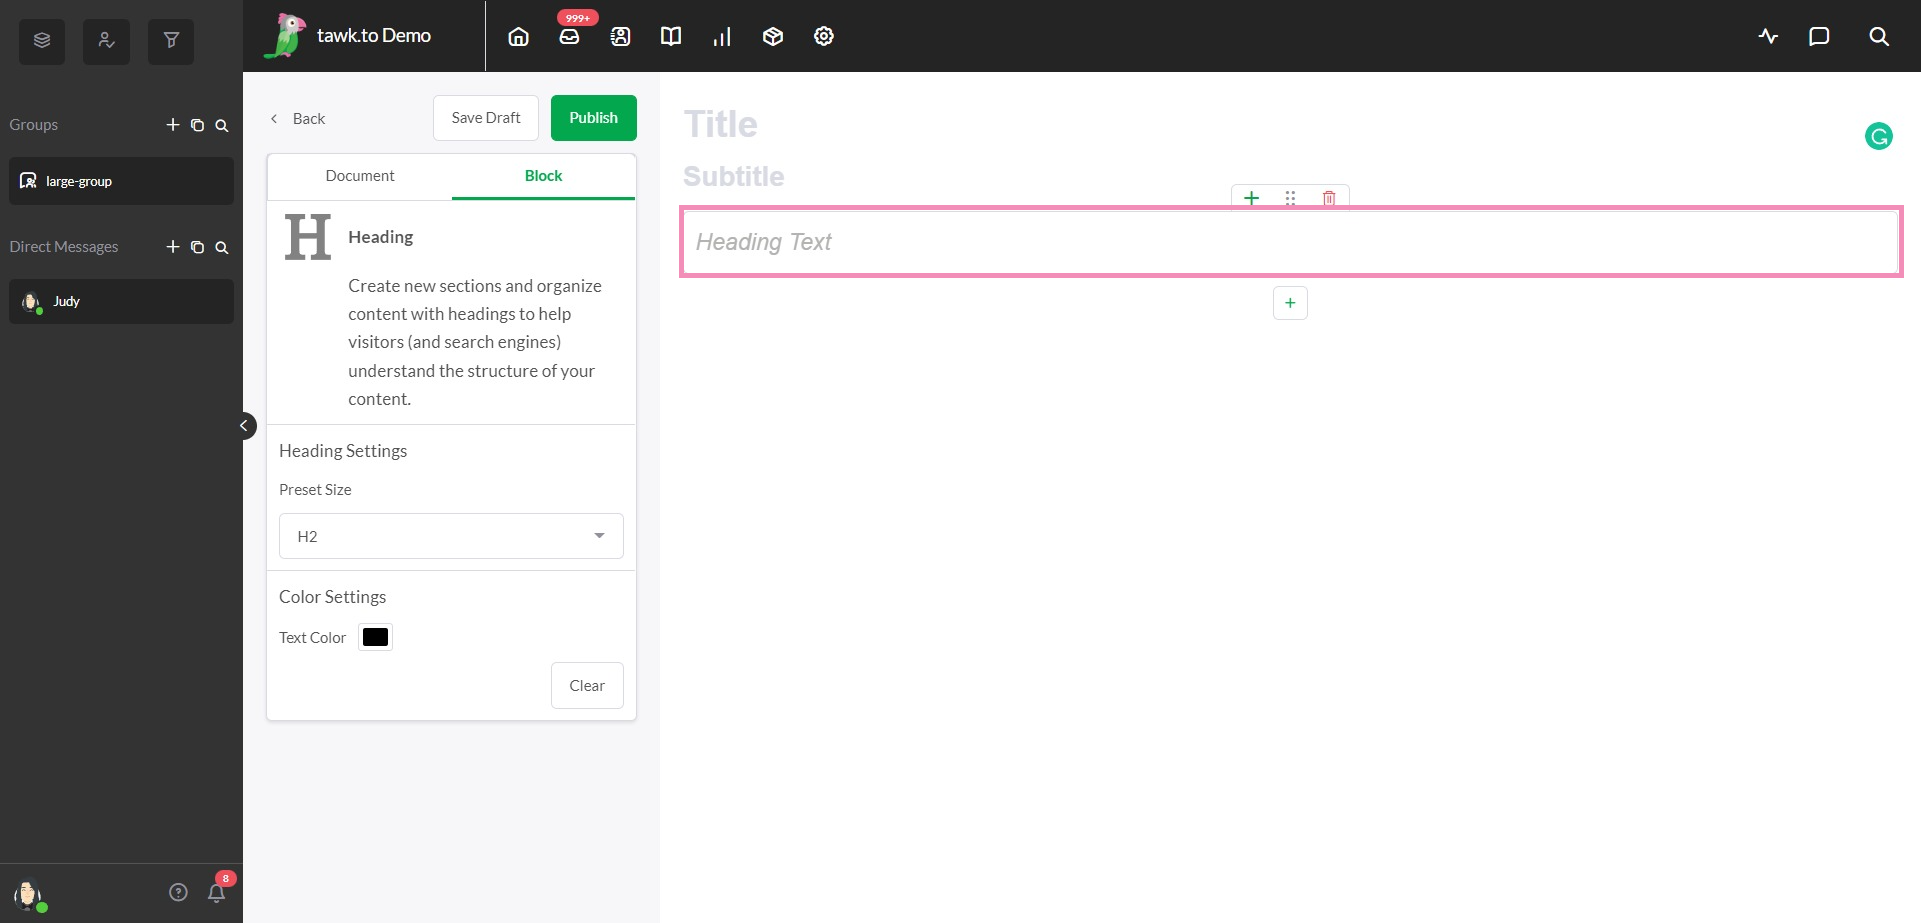
Starting from the left, the first option is the Header. You may not want to add one of these so soon after creating your title and subtitle. However, adding headings to break up longer articles makes your article easier to read and allows readers to find what they're looking for more quickly.
Adding structure increases the likelihood of readers making it to the end and keeps search engines happy by making it easier for them to figure things out. You can change the size and color in the block settings on the left to suit the style you're going for. However, keep in mind that the size of the headings passes your formatting information on to search engines.
You'll notice there is no H1 because that's reserved for the title of the article. The lower the number, the more important the heading is to a search engine. Try to nest your headings together with smaller text sizes (and higher numbers) appearing as subheadings to introduce subsections.
Paragraph
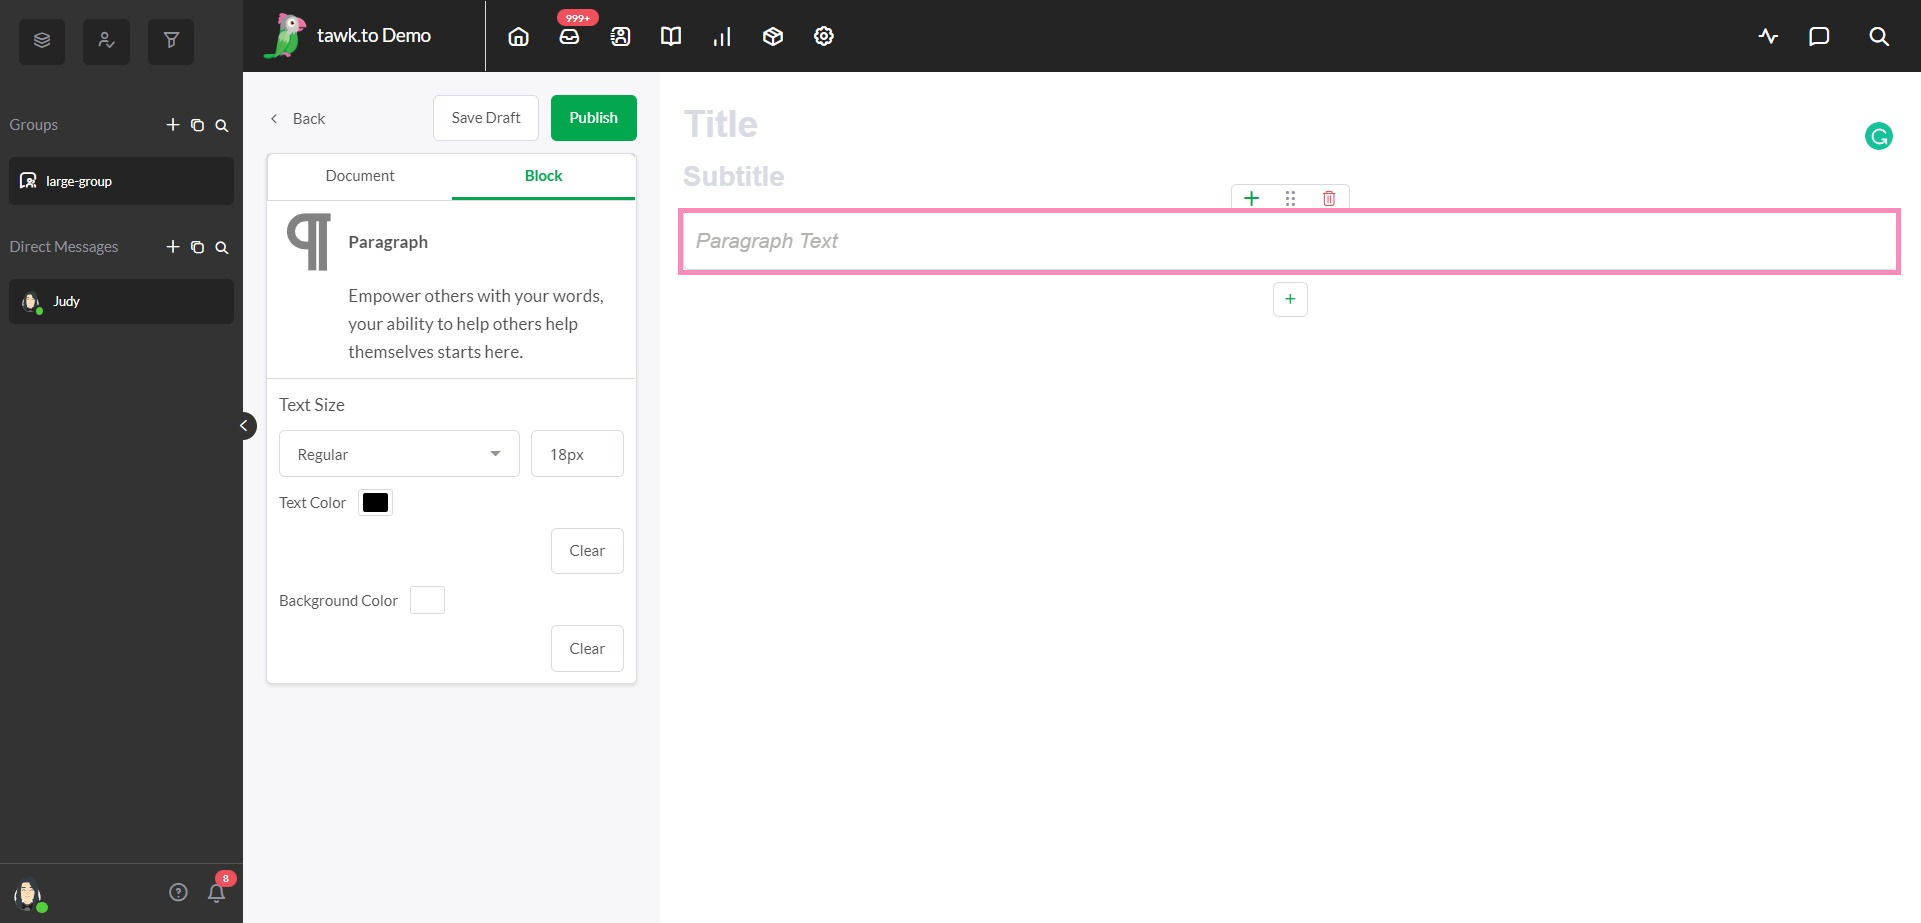
The Paragraph option allows you to enter text and is likely the most common block you'll be using. No need for a lot of bells and whistles here. Other than the options presented in the block settings on the left, this one is pretty straightforward. If you want to customize your paragraphs, you can change the size and color or even the background color of your text if you're going for a specific look with your knowledge base articles.
Image

Adding Images to articles helps a lot with readability. While it's great to explain with text, adding an image that shows visually what you're explaining should always be an option. In the block settings on the left, you can set how you want your images to appear on the page: on the left, centered or on the right.
This choice comes down to style and personal preference. As with all choices related to style, it's best to make a choice and stick to it. Keeping your visuals uniform across multiple pages makes for easier reading, as viewers will come to expect a certain format.
To attach your images, you have two choices: either include the URL of the image from another location on the internet or upload one you've got ready to go from your computer. Once again, it's best to keep things consistent, so make an effort to keep your images close to the same size and quality for easier reading.
Code
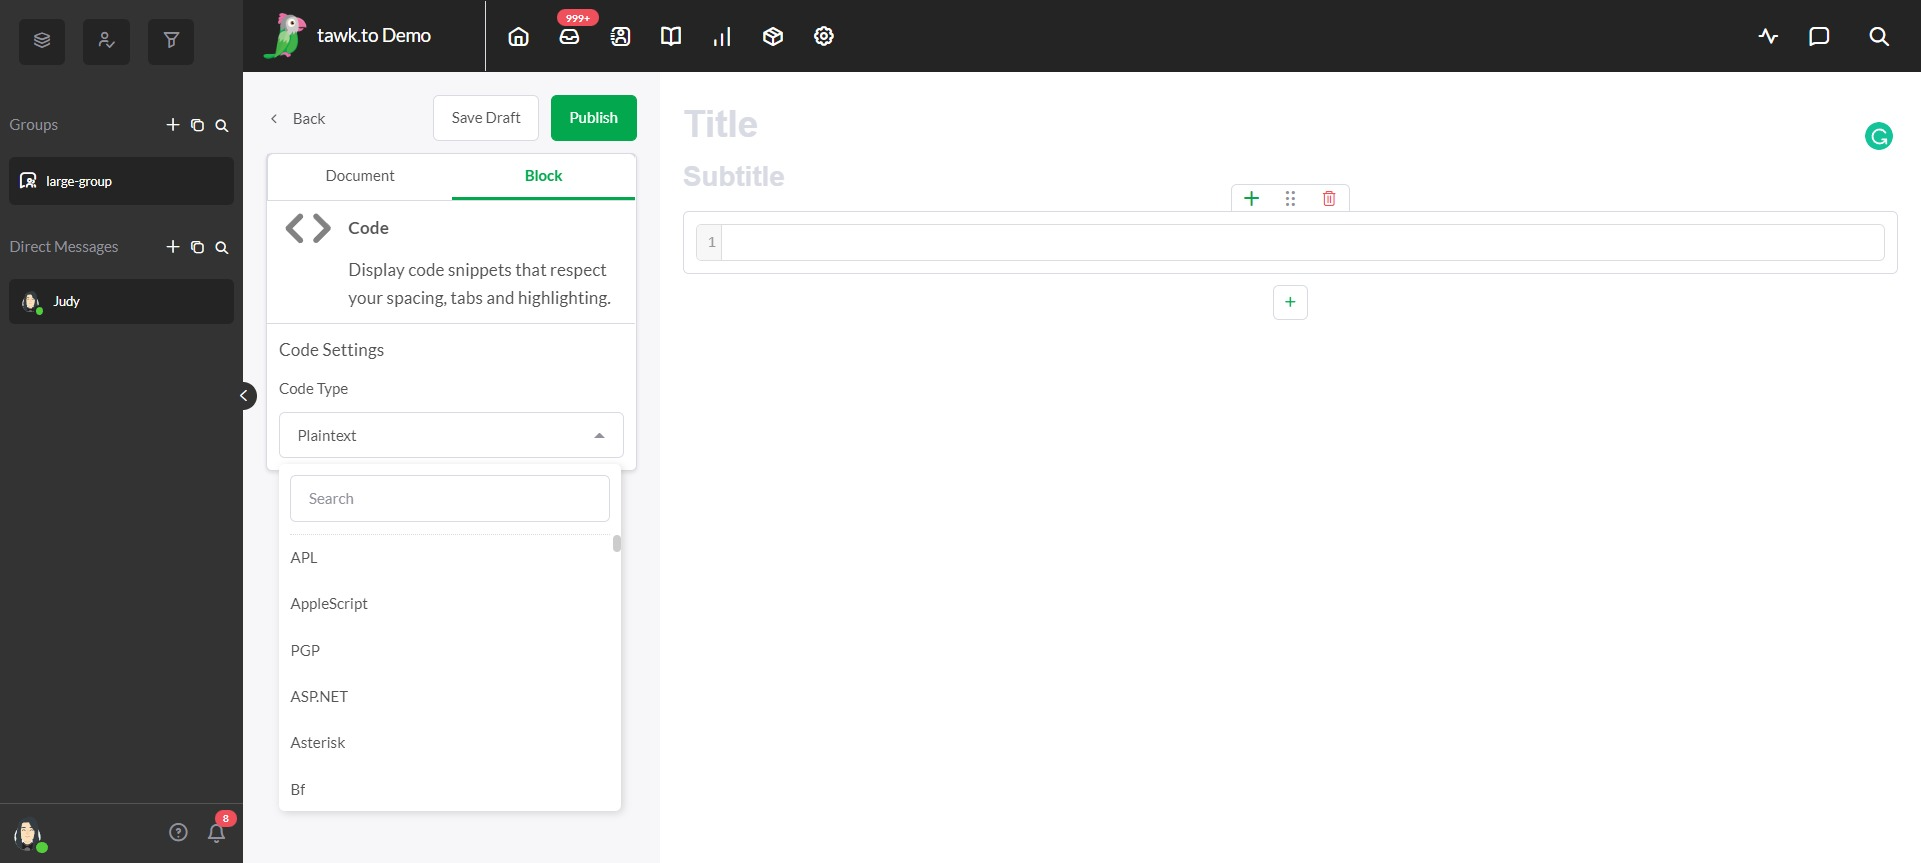
If you want to share snippets of code and include the formatting, the Code block is what you want. In the block settings on the left, you can select the type of code you're using from a list in the dropdown menu.
Please note that while code blocks allow you to format code for display, they can not be used to embed HTML
Video
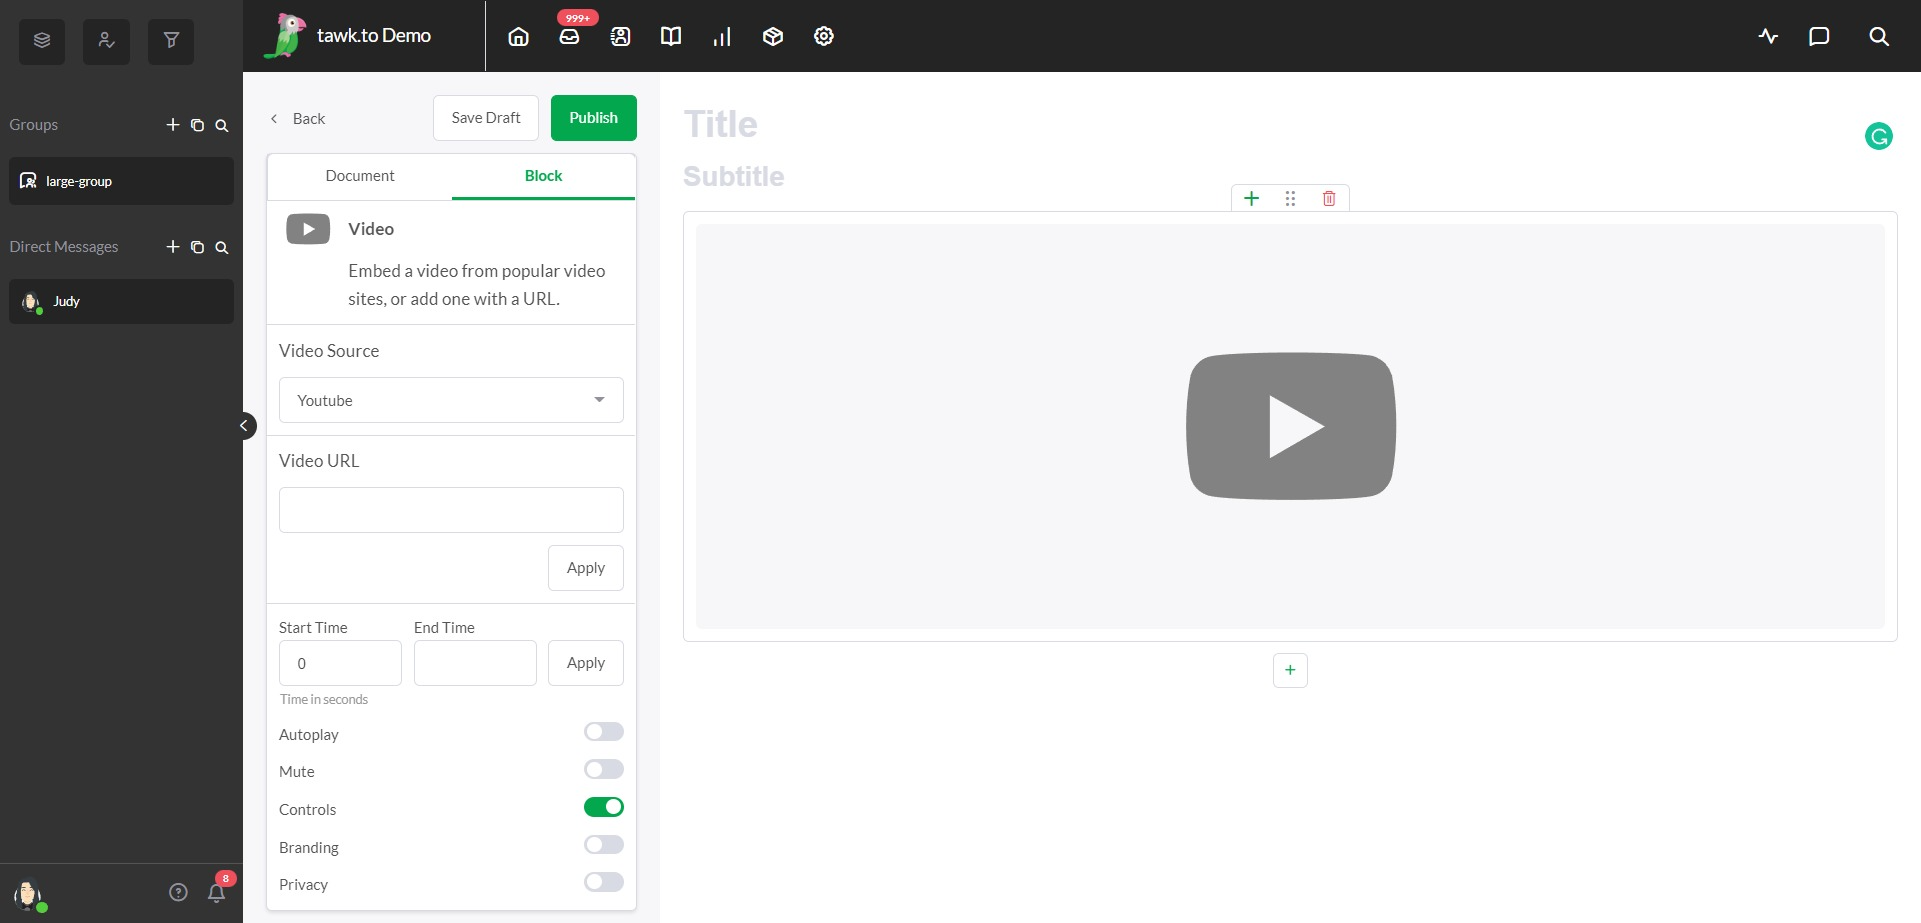
Videos make your content and the world just a little bit better and there are a few options to choose from when adding a video to a knowledge base article. First, you need to select a Video Source. YouTube, Vimeo, and Dailymotion are popular hosting sites. Each gives you different options and controls depending on your source. Or, if you aren't using one of these platforms, you can select the self-hosted option.
Once you've got the correct video platform selected, add the URL for the video and make any adjustments you feel necessary in the area below. How the video appears and how it plays for visitors can be tweaked here if you want to dig in and make some changes without altering the original video.
Divider
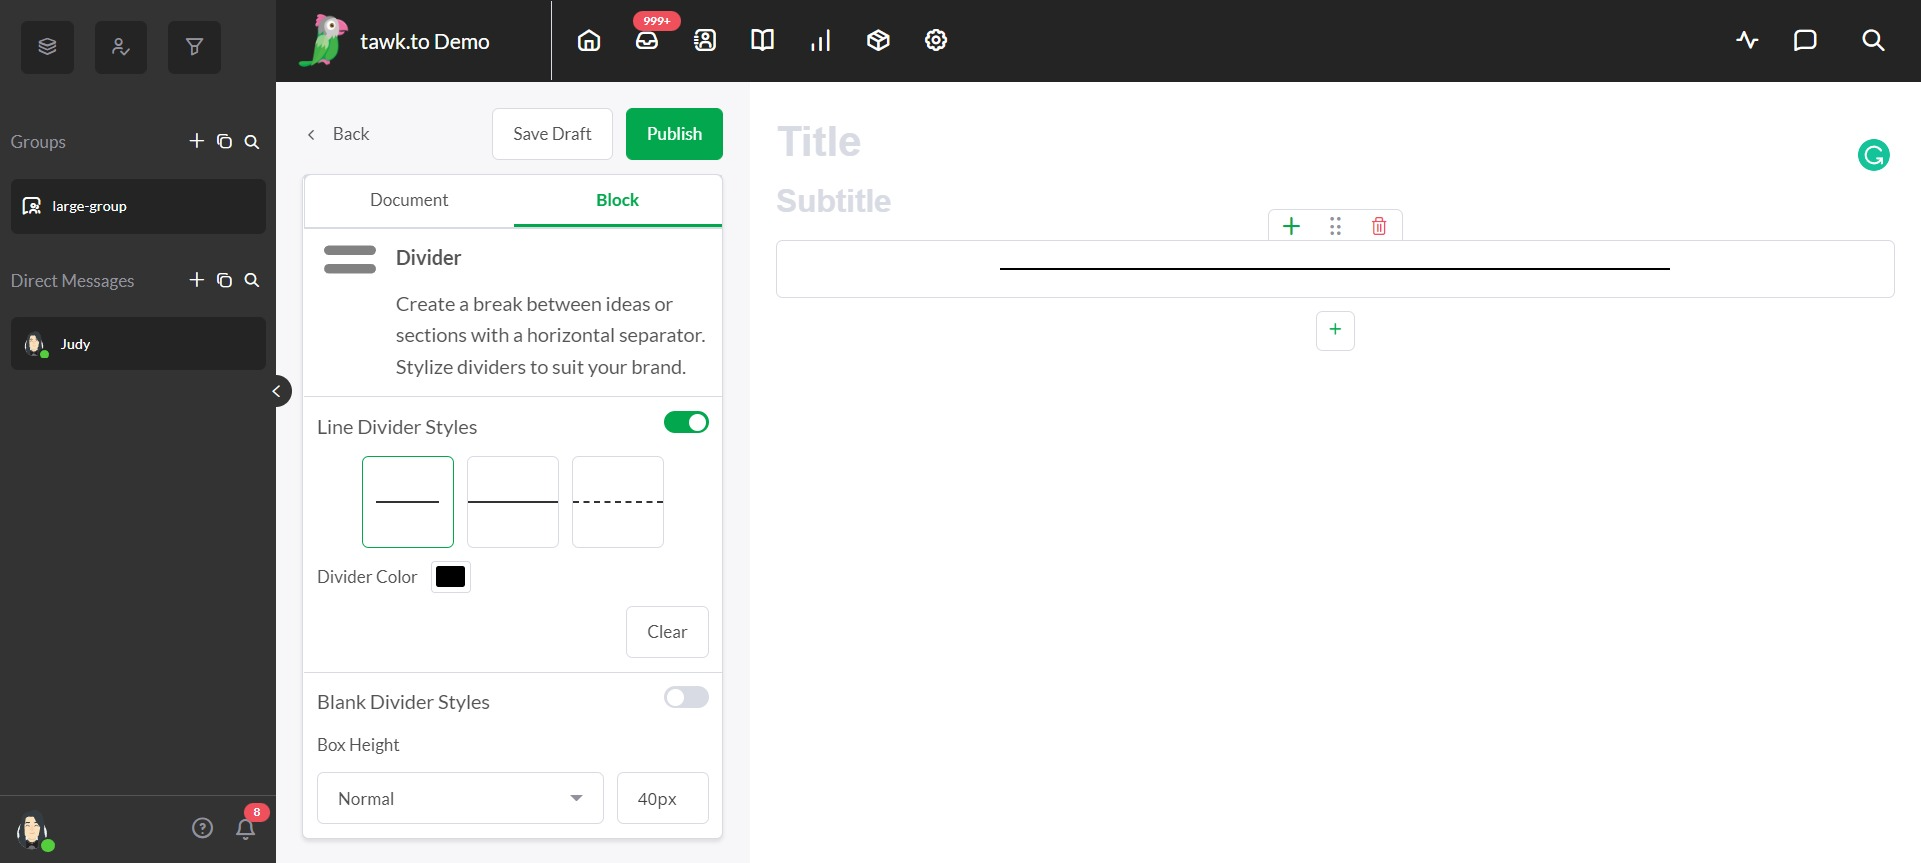
The Divider block gives you two options for breaking up content in your knowledge base article and controlling the space between blocks. Choose from three styles for the visible line divider. Then pick a color that works for you or make the divider invisible.
Changing the height of a divider will increase or reduce the space between other blocks. If you're not sure how big it needs to be or how it will look, hit the save draft button and then click Preview right next to it. You'll see a temporary version as it would appear if published with your current changes.
Table
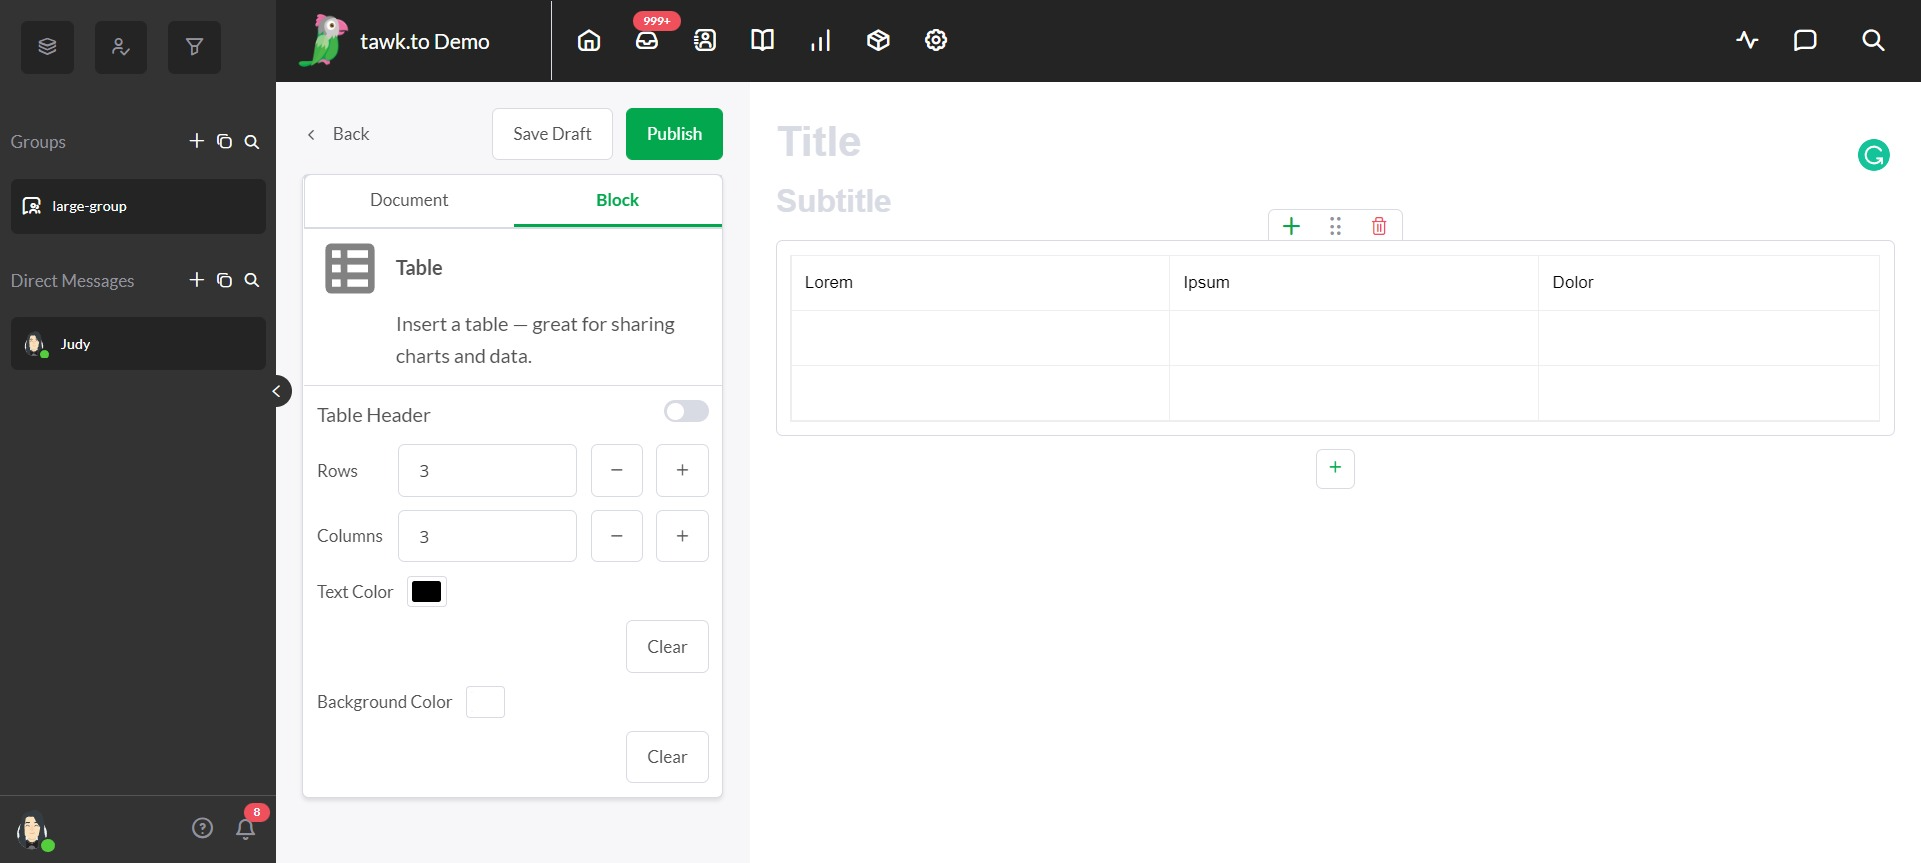
The final option allows you to insert tables into your articles. Other than adding text into the Table block, all formatting options will again be in the block settings panel on the left. First, choose the number of rows and columns. Then, if you really want it to pop, try playing with the text and background color.
Publish
That wraps up all of the block options. Once you have all of your content in place and you're happy with how it fits together, click the Publish button to save your changes and make your article available for all to see.
Need help? Reach out to our support team or schedule a call.