Getting started with Inbox
Your Inbox area is a shared inbox where all your messages and tickets are stored.
To get started with the Inbox, check to make sure you're currently viewing the correct property by hovering over at the top of the Dashboard.

Then click the Inbox icon at the top of the navigation panel.

In the left-hand side of the Inbox area, you’ll see options for Chats and Tickets under All. Click Chats to view chats only.
You will see a list of all past chats on your property along with notifications showing the total messages, duration, the agent who took the chat, rating, and the status of each chat.

Under Status, an orange box marked Open shows there was a Missed chat — someone requested a chat and has not been answered.
If your visitor has left their contact details in a Pre-Chat Form or message, it's important to reach out to them as quickly as possible.
When your widget is offline, a form automatically requests your visitor’s name and email before they leave a message.
You can encourage visitors to leave their contact details when your widget is online by setting up a Basic - Chat Rescuer Trigger or adding a Pre-Chat Form. A Chat Rescuer is a message that’s triggered automatically when you’re unable to respond right away. The Pre-Chat Form requires your visitor to submit a name, email, and any other information you choose to require before beginning a chat (the catch is that this can reduce the number of incoming chats you receive).
Learn more about the Pre-Chat form here: Using the Pre-Chat Form.
And learn more about setting up a Basic - Chat Rescuer Trigger here: Setting up a Basic - Chat Rescuer Trigger
A grey box marked Closed means the chat was completed.

Another way to narrow down results, depending on what you're looking for, is using the Filter. You can search by Agent, Minimum number of Message, Rating, Status, Tags, and the date when it was Updated.

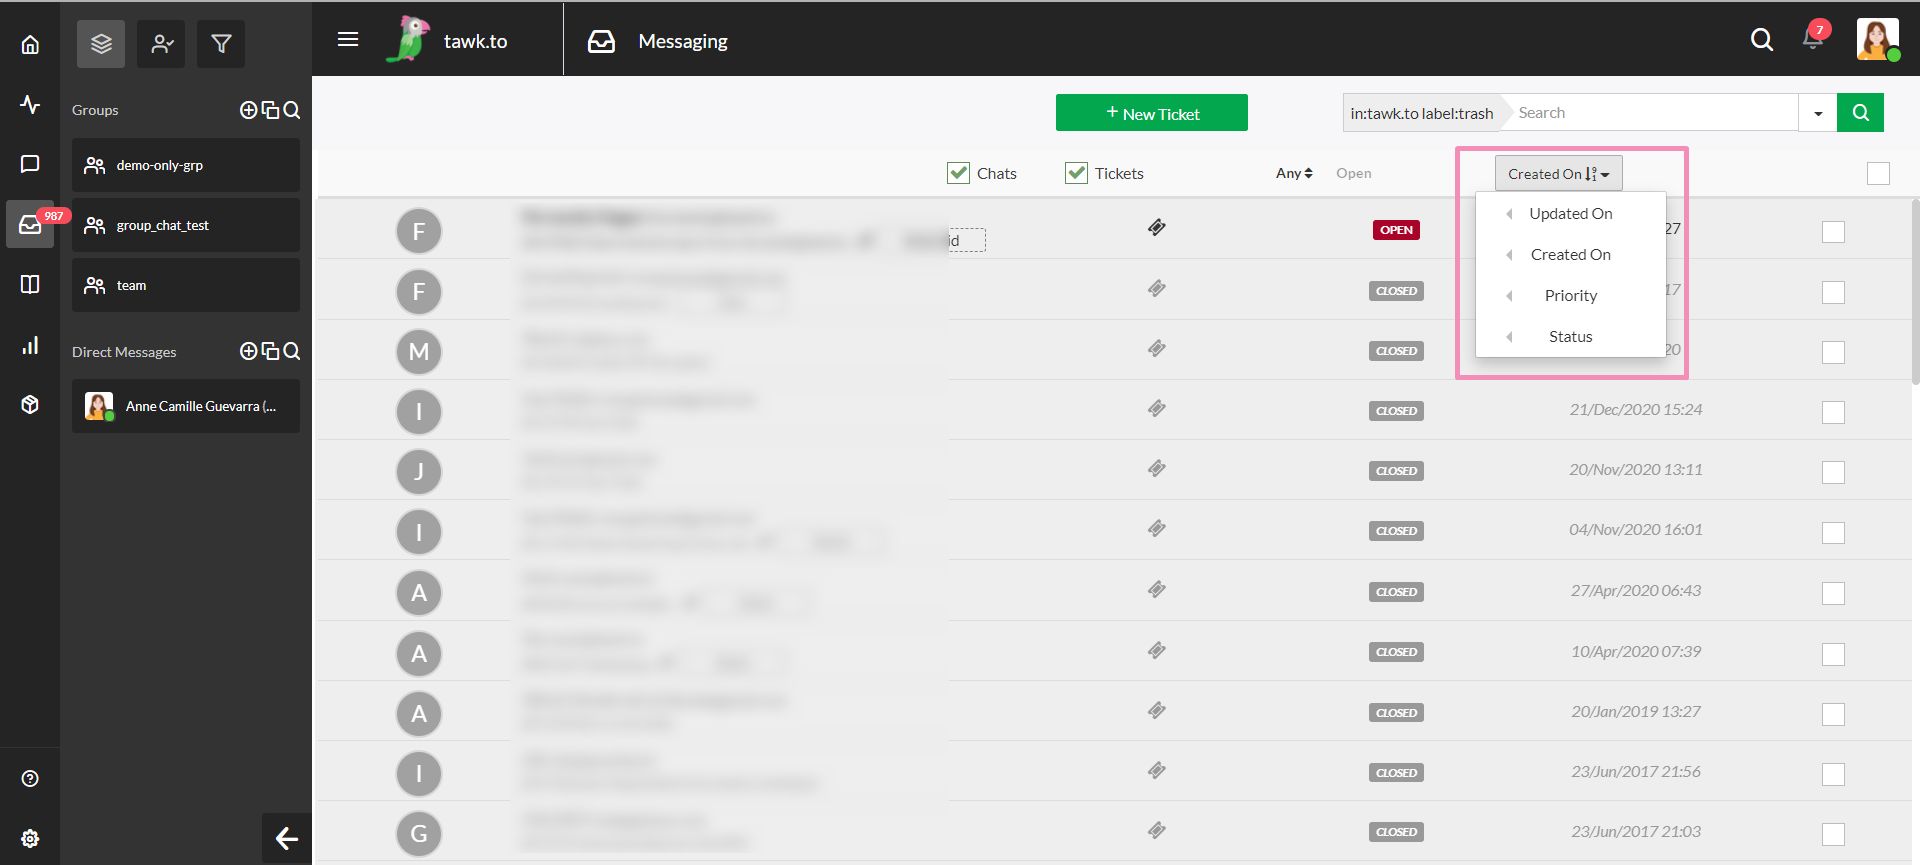
In the upper-right menu, you can sort messages according to the date of creation, most recent update, update status or priority.
How to Delete a Chat
If you'd like to delete a message, in the Inbox section select the message you want to delete from the list.
To delete a single chat, hover your mouse over to a chat that you want to delete and a checkbox will appear. Filling this checkbox will prompt a few icons at the upper right-hand side of the screen. You'll then be given a chance to confirm that you want to delete the message once you select the trash can icon.

Selecting the trash can will delete the selected chat. Deleted messages will send the message to the Trash.
If you want to permanently delete the message, navigate to the Trash section just below the Tickets section.
From here, hover your mouse over to a chat that you want to delete and a checkbox will appear. Filling this checkbox will prompt a few icons at the upper right-hand side of the screen.

Select the Purge icon to permanently delete the chat. Restore Messages sends messages back to the Inbox, and Purge Messages permanently deletes them. Purging a message can not be undone, so make sure you want to permanently delete a message before selecting Purge Messages.

Sorting Messages
If you have a large number of messages to sort, depending on what you're looking for, you can use the Filter. You can search by Agent, Minimum number of Message, Rating, Status, Tags, and the date when it was Updated.
When a visitor has left an email address, you can respond to a missed chat or message via email by converting the message to a ticket. You can click the green Create Ticket at the bottom of the screen.

You will be able to view your entire conversation history with each contact by selecting the message and go to the History tab, under Visitor.

To learn more about tawk.to’s built-in Ticketing system, read this article: Creating and responding to tickets
If you have other questions, don’t hesitate to reach out to our support team or schedule a call.