Restricting the chat widget from showing on specific domains
[Desktop]
The Domain Restriction settings allow you to show or hide the widget on one or more specific domains or URLs.
NOTE: The instructions below can only be completed from a browser or the tawk.to desktop apps. They cannot be completed in the tawk.to mobile app.
If you have multiple properties, check to make sure you're viewing the correct one. Hover over the current property name in the upper-left menu to select a new property from the list.
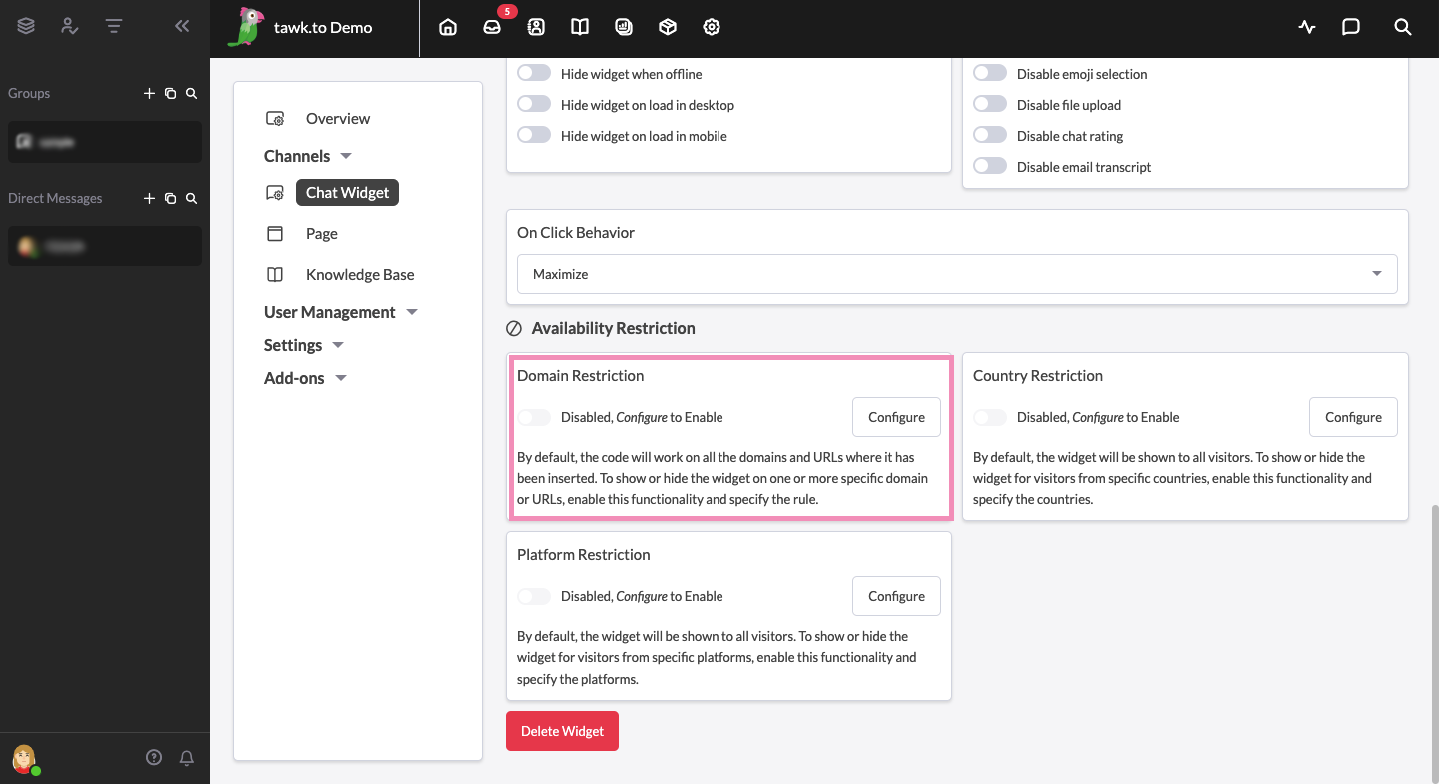
Make your way to ⚙️Administration ⮕ Chat Widget.

Then, scroll down to Availability Restriction

If you would like to block the widget from appearing on a specific URL or domain, click Configure in the Domain Restriction section.
Enabling Domain Restriction by switching it on will give you two new options for restricted domains: SHOW widget only on specific domains and/or URLs and HIDE widget on specific domains and/or URLs.

If you only want the widget to be shown on certain domains, use the SHOW widget only on specific domains and/or URLs option and simply add the domains on which you want the chat widget to be available.
Click the + Add Another button to include more sites where the widget will appear.

If you'd rather have the widget available on most of your website with a few exceptions, use the HIDE widget on specific domains and/or URLs option and add the domains on which you want to hide the widget.
Click the + Add Another button to include more sites where the widget will not appear.

To activate these changes, be sure to click the green Save button in the bottom right corner once you're happy with the setup.

Setting up Page Restrictions with WordPress
If you’re using the WordPress plugin to install your widget, you can customize your visibility options inside the plugin settings.
Toggle the Always show Tawk.to widget on every page option to the on position to show your widget on every page of your site. Turn this option off to select from a list of specific places to display your widget.
These include the following:
Show on front page
Show on Category pages
Show on Tag pages
Show on Single Post Pages
You can also select Exclude on specific URL or Include on specific URL and enter the URLs for which you would like to hide or display the widget.
Then click the blue Save Changes button at the top or bottom of the left menu.

Read more about our WordPress plugin here: WordPress
Need more help? Reach out to our support team or schedule a call.